Sewing and lifestyle blog of a wannabe "full-time vixen"

Monthly Archives: May 2012

1940’s Glam Hair

I took some photos of what my curls looked the day after…I think they’re still very lovely after being slept on! I don’t bother to put them back in curlers for the day after, mostly out of laziness, but also out of curiosity as to what the curls will look like.

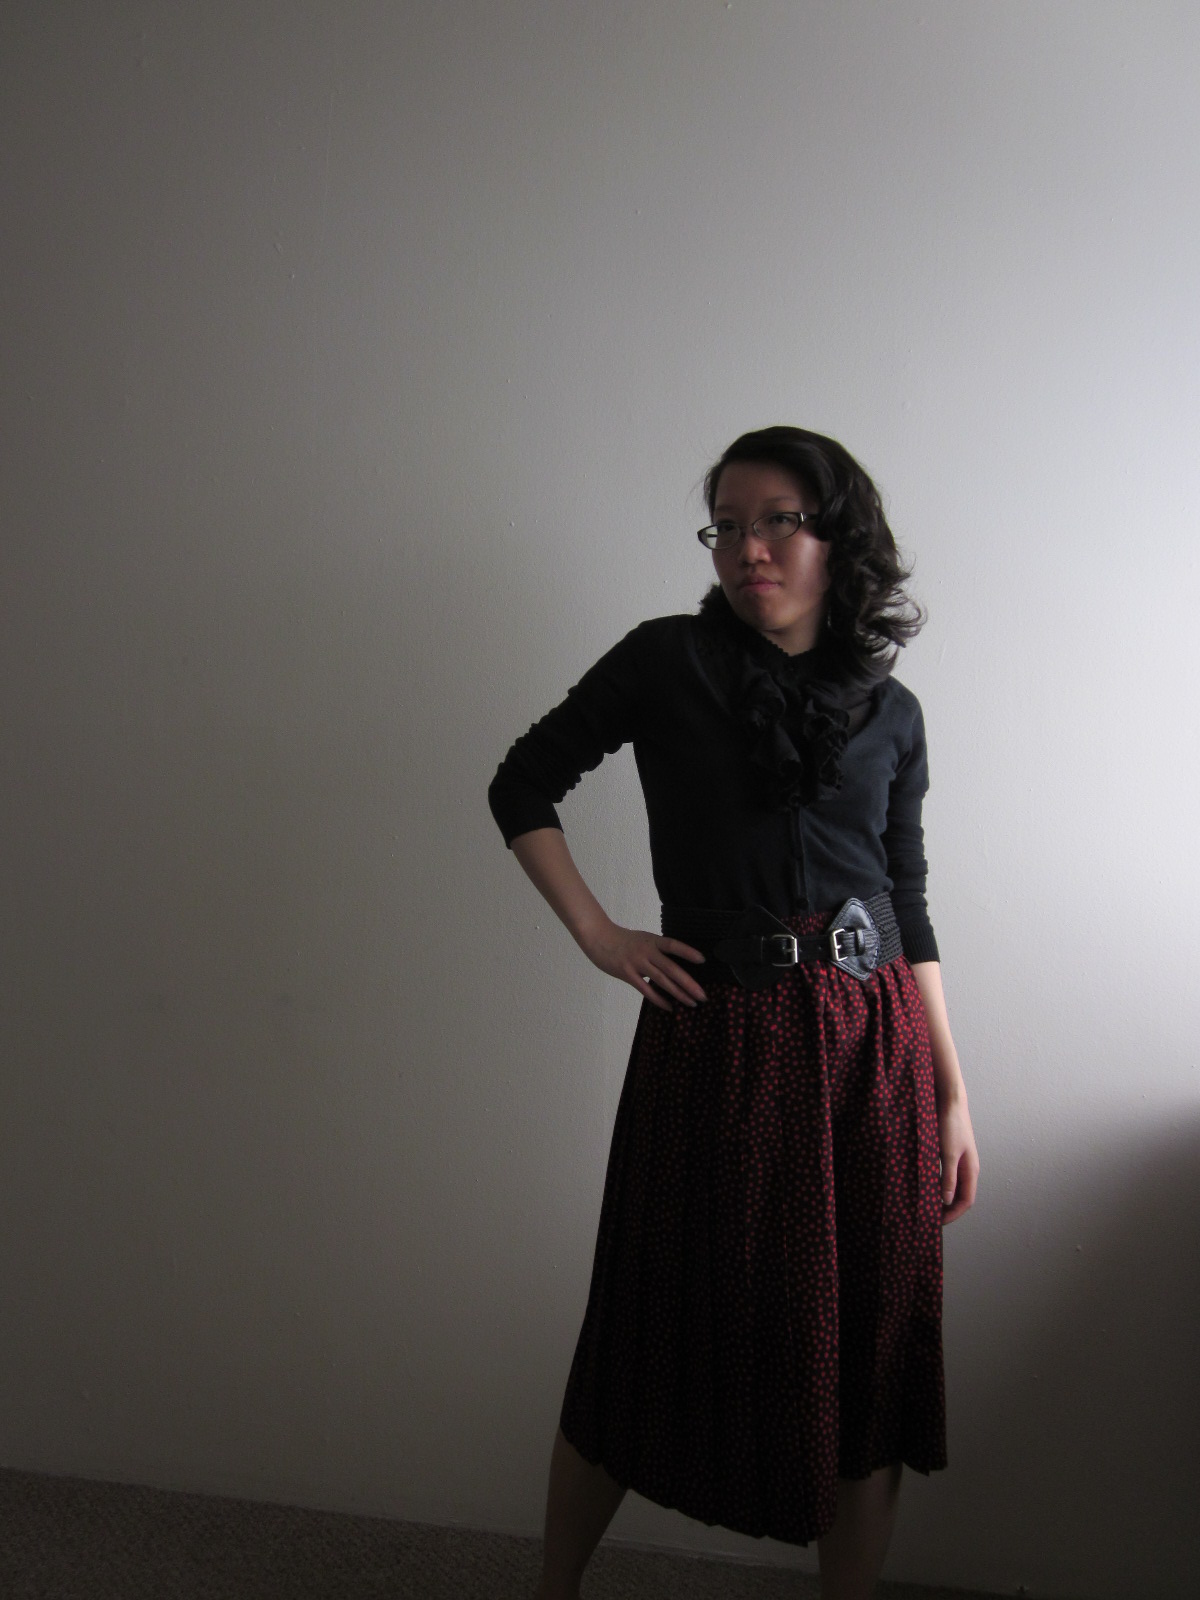
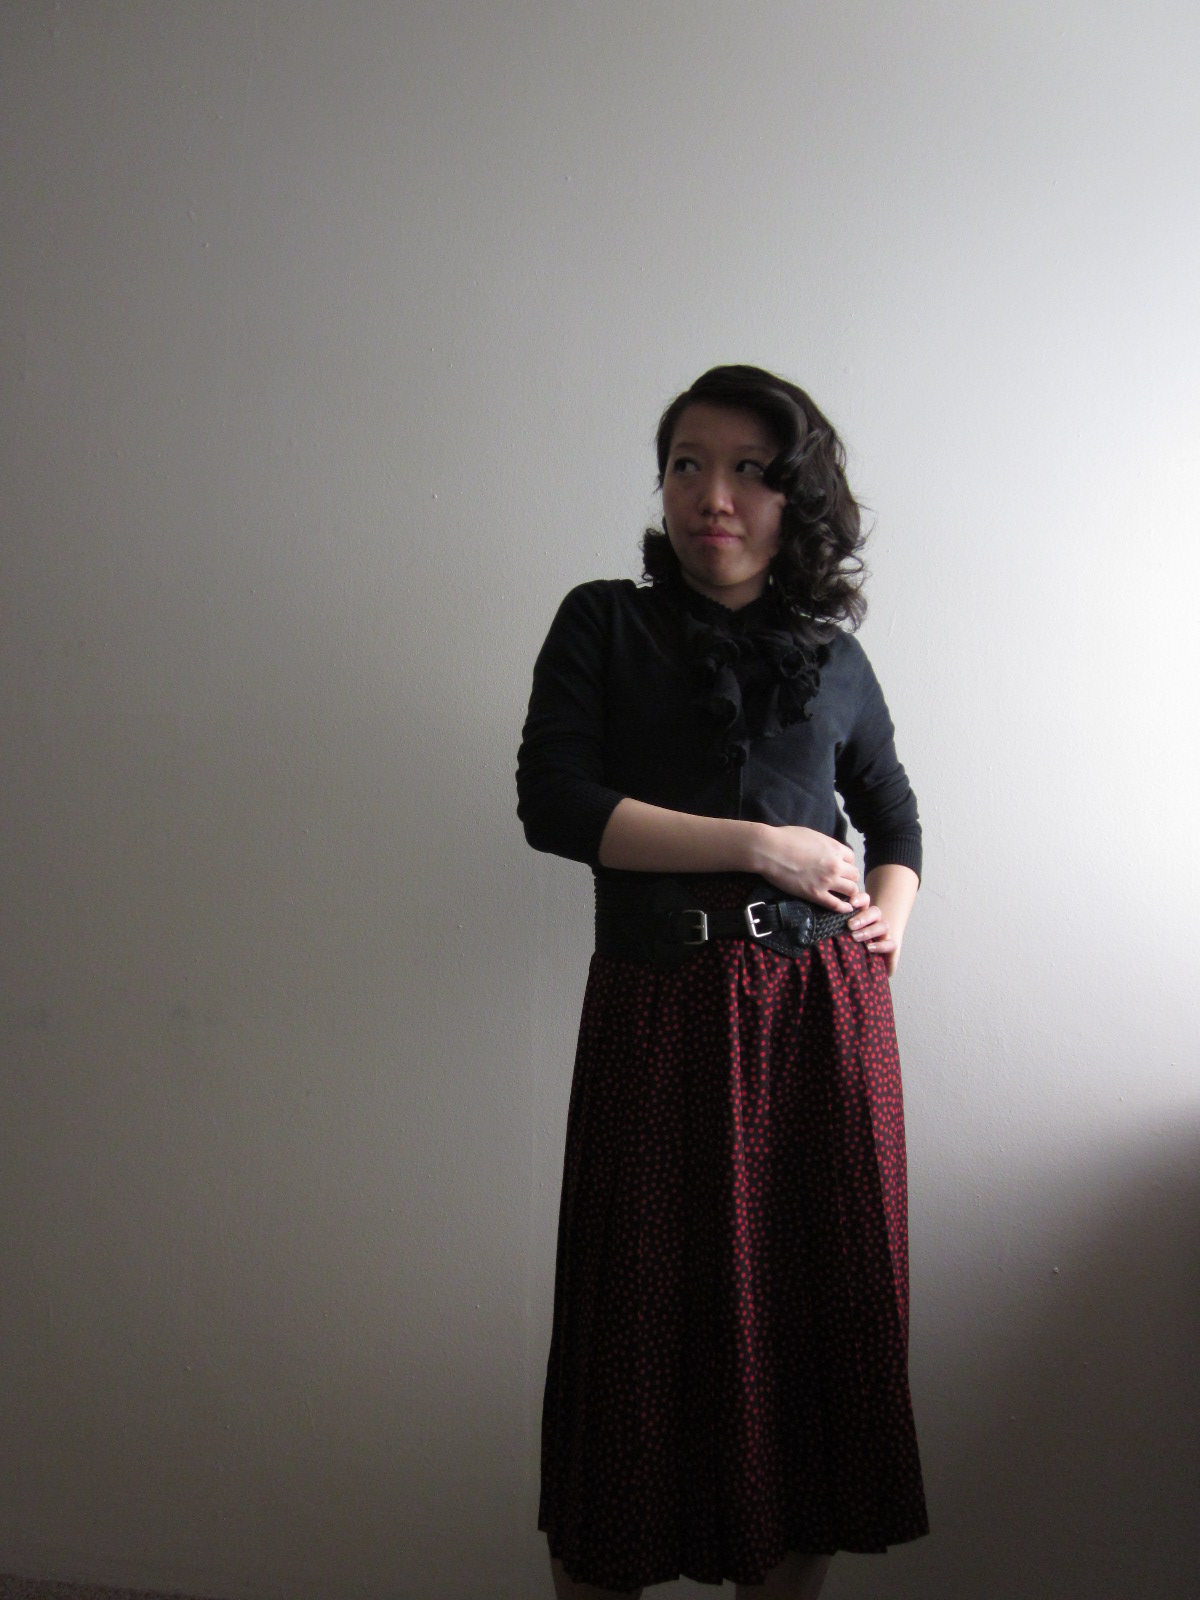
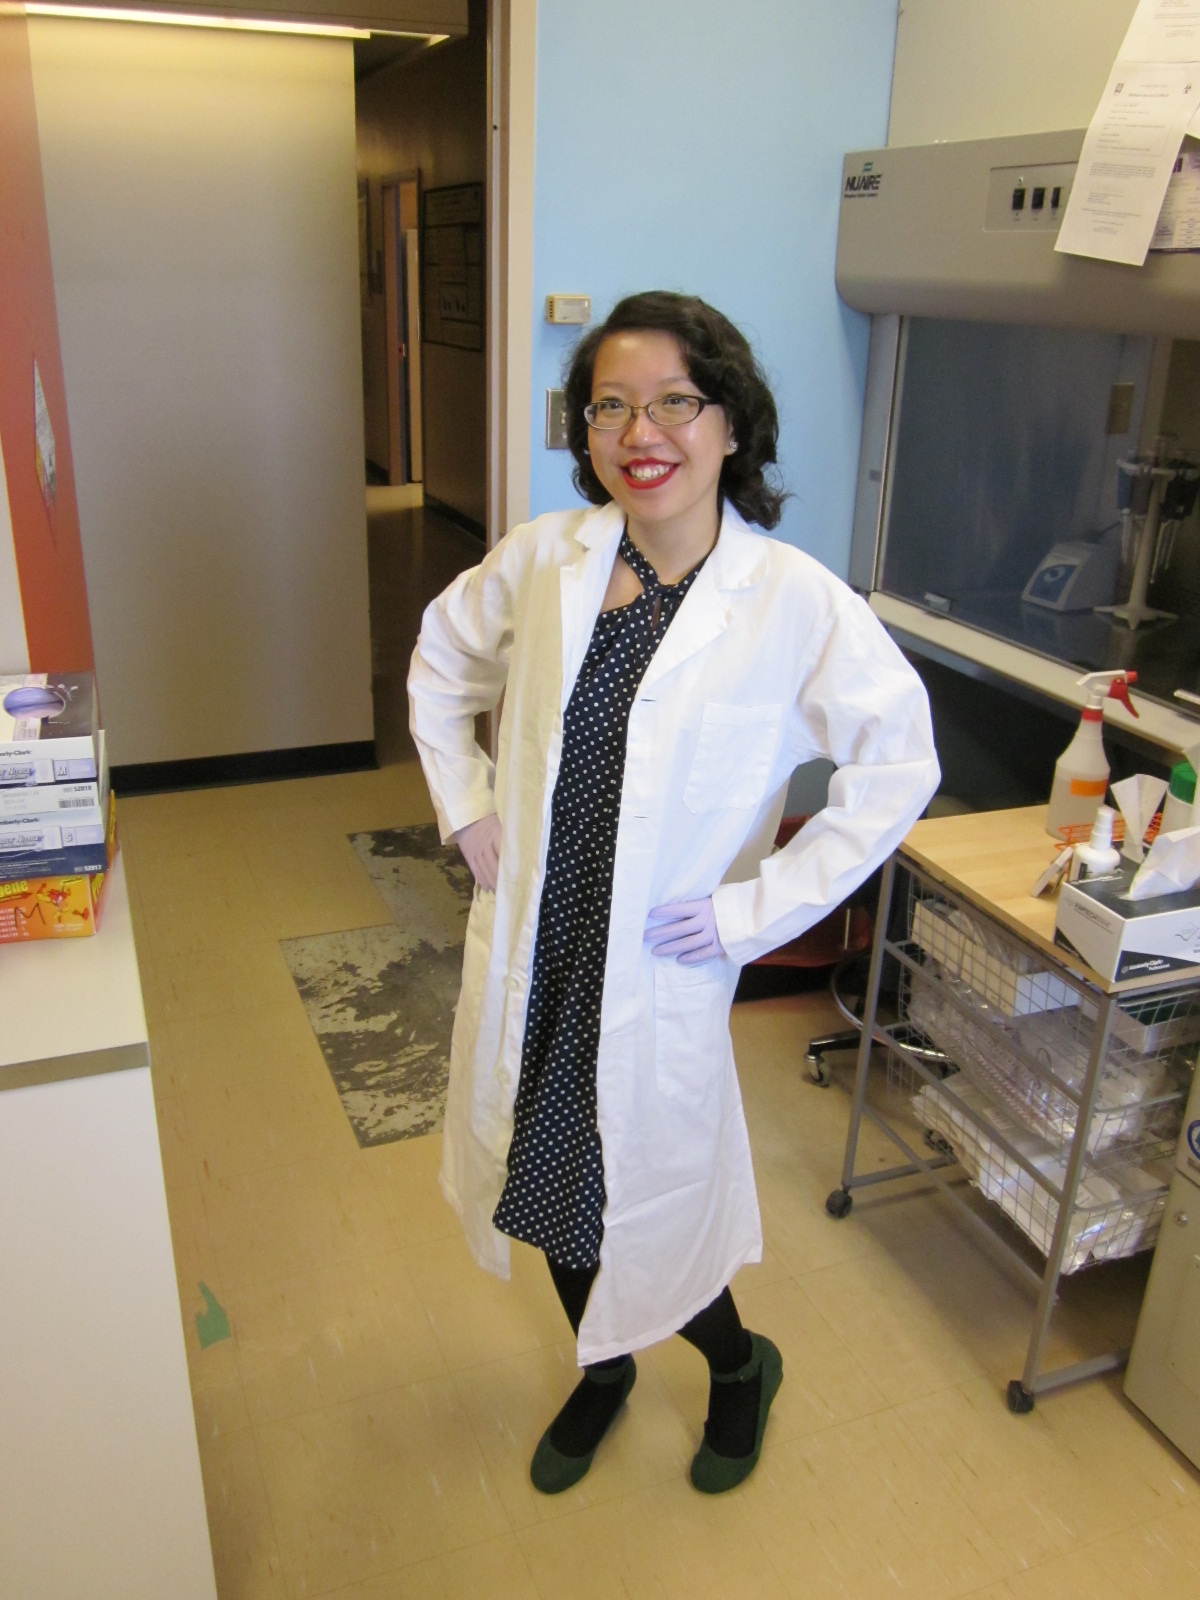
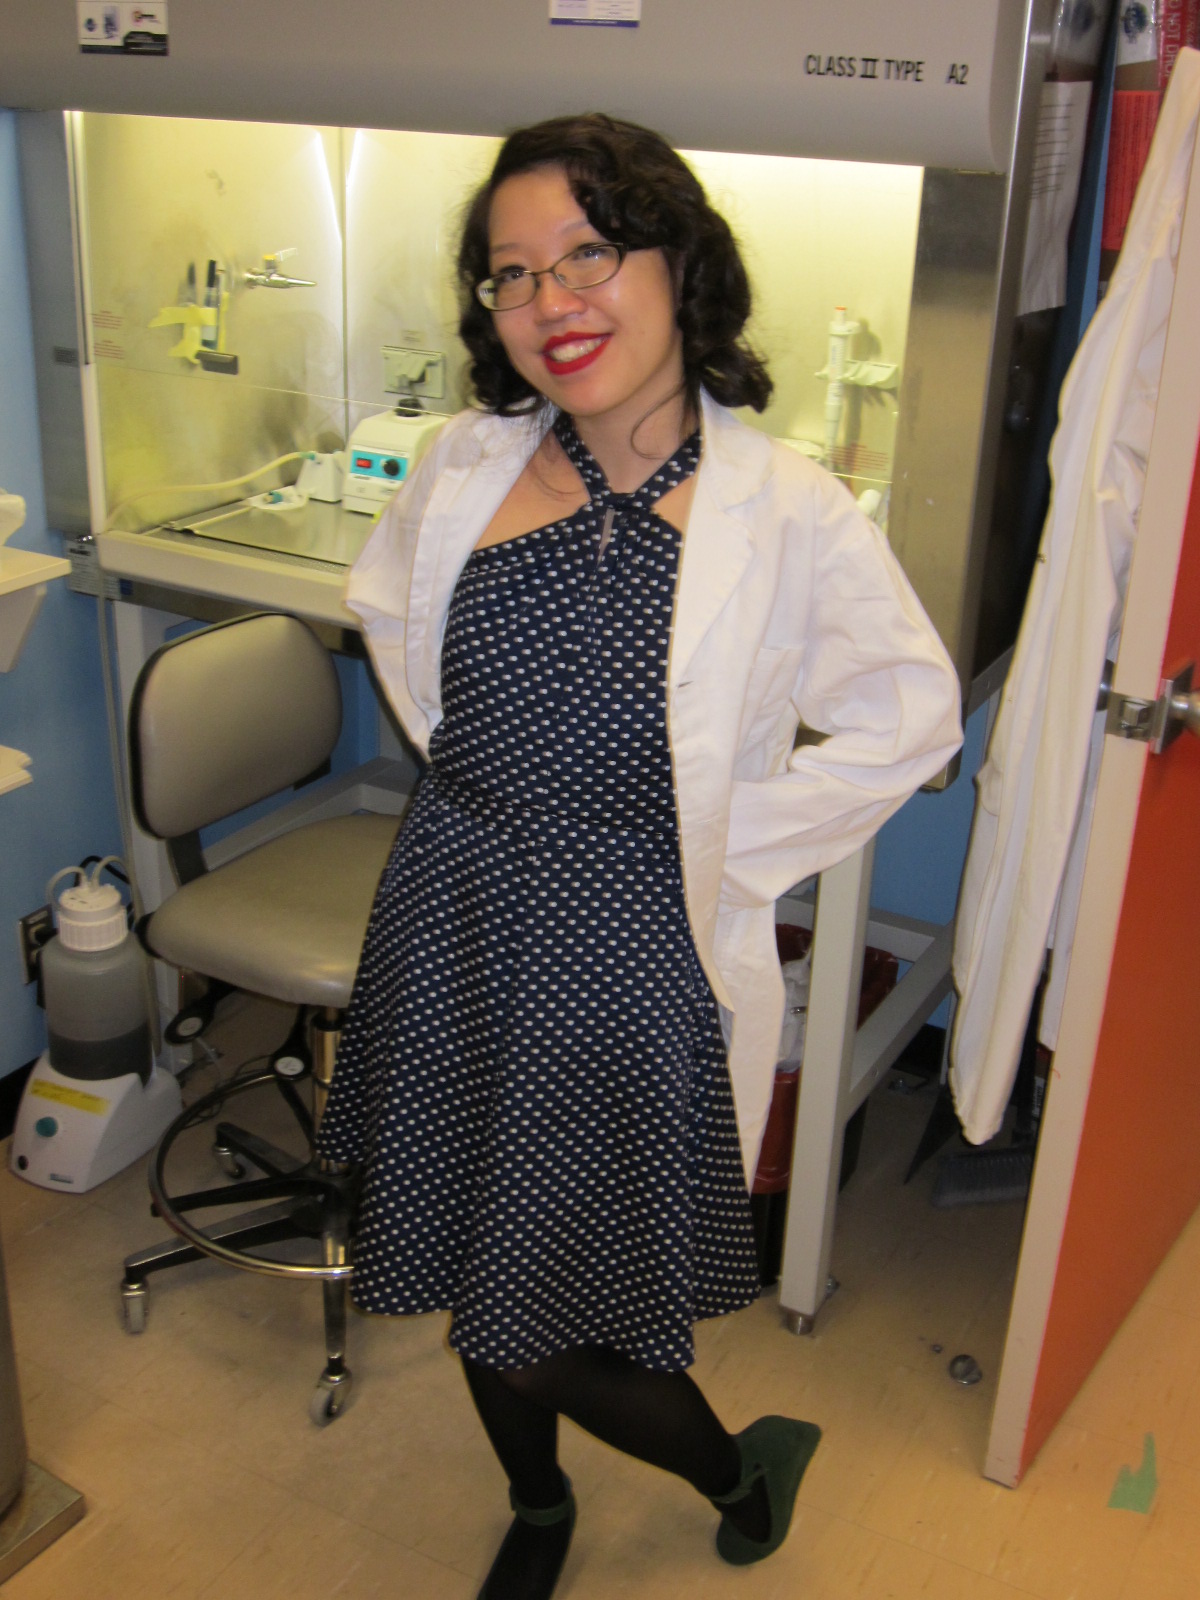
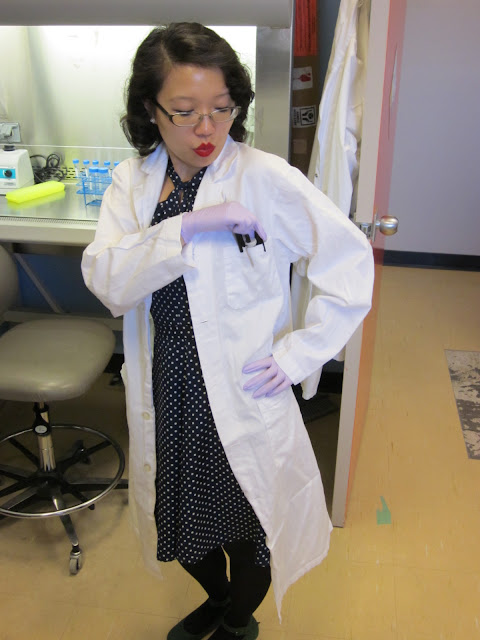
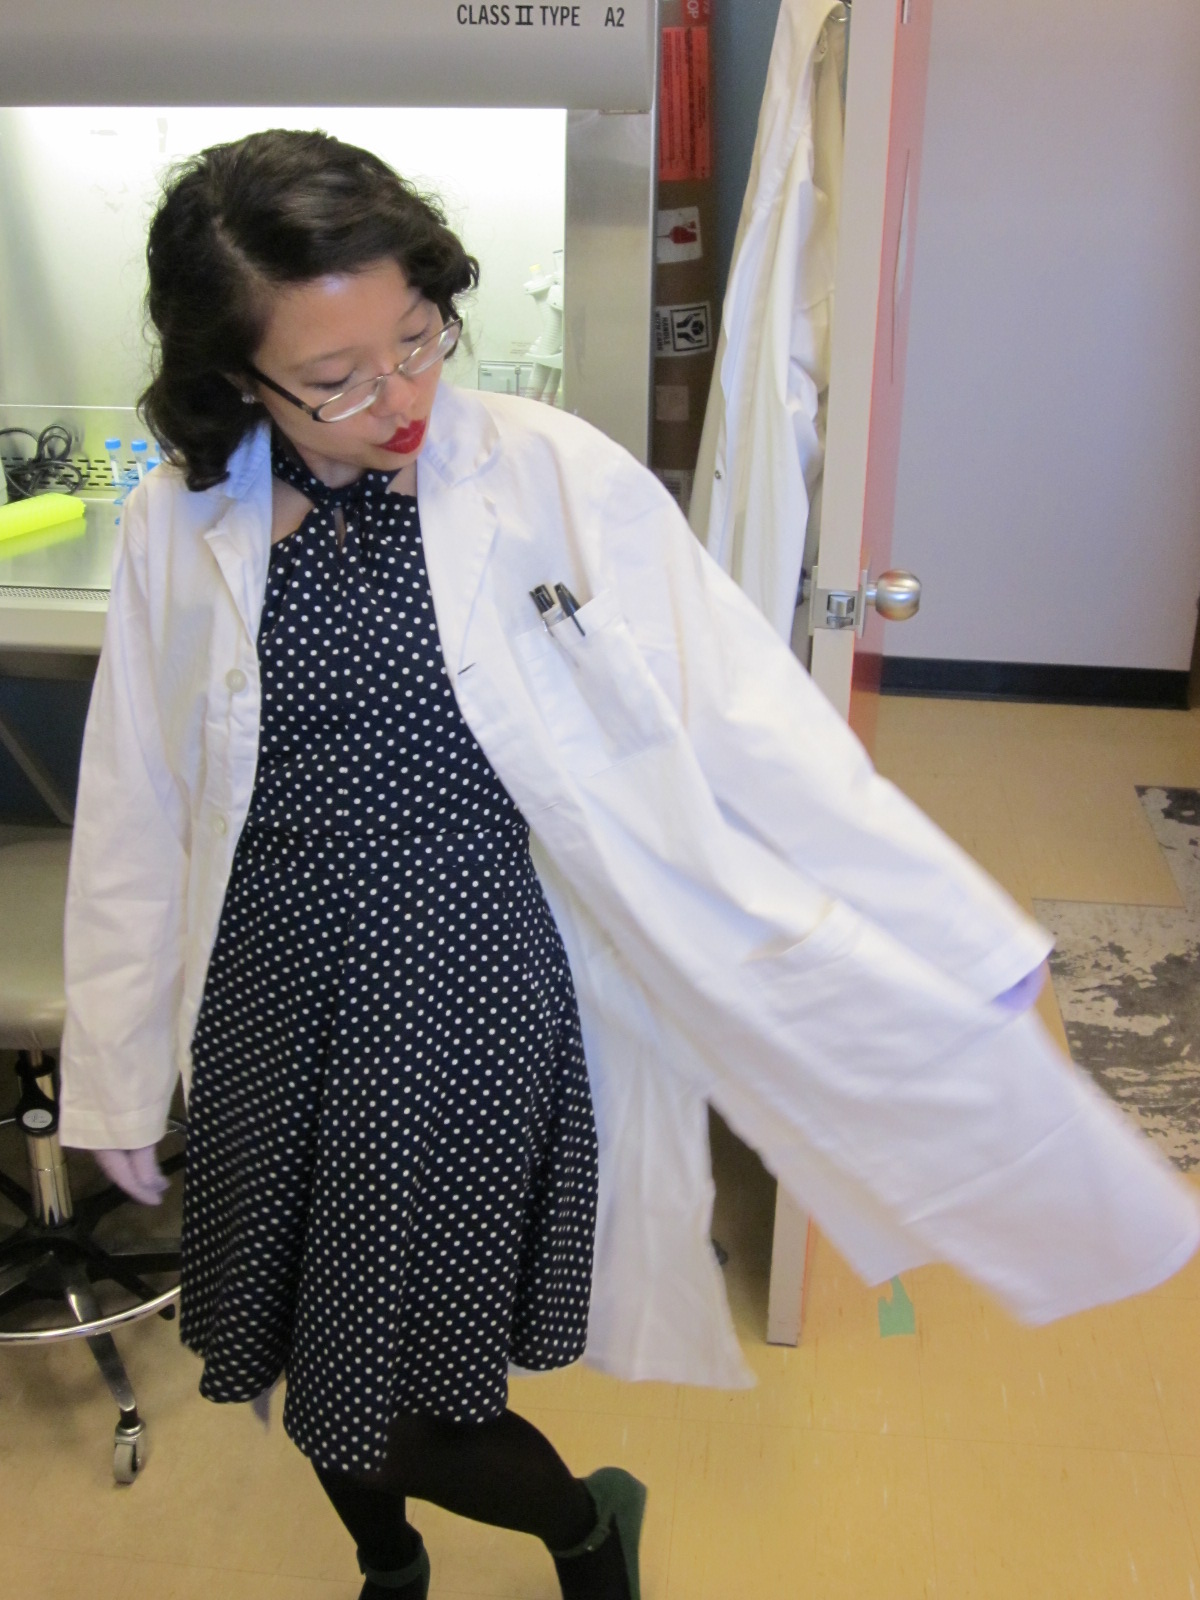
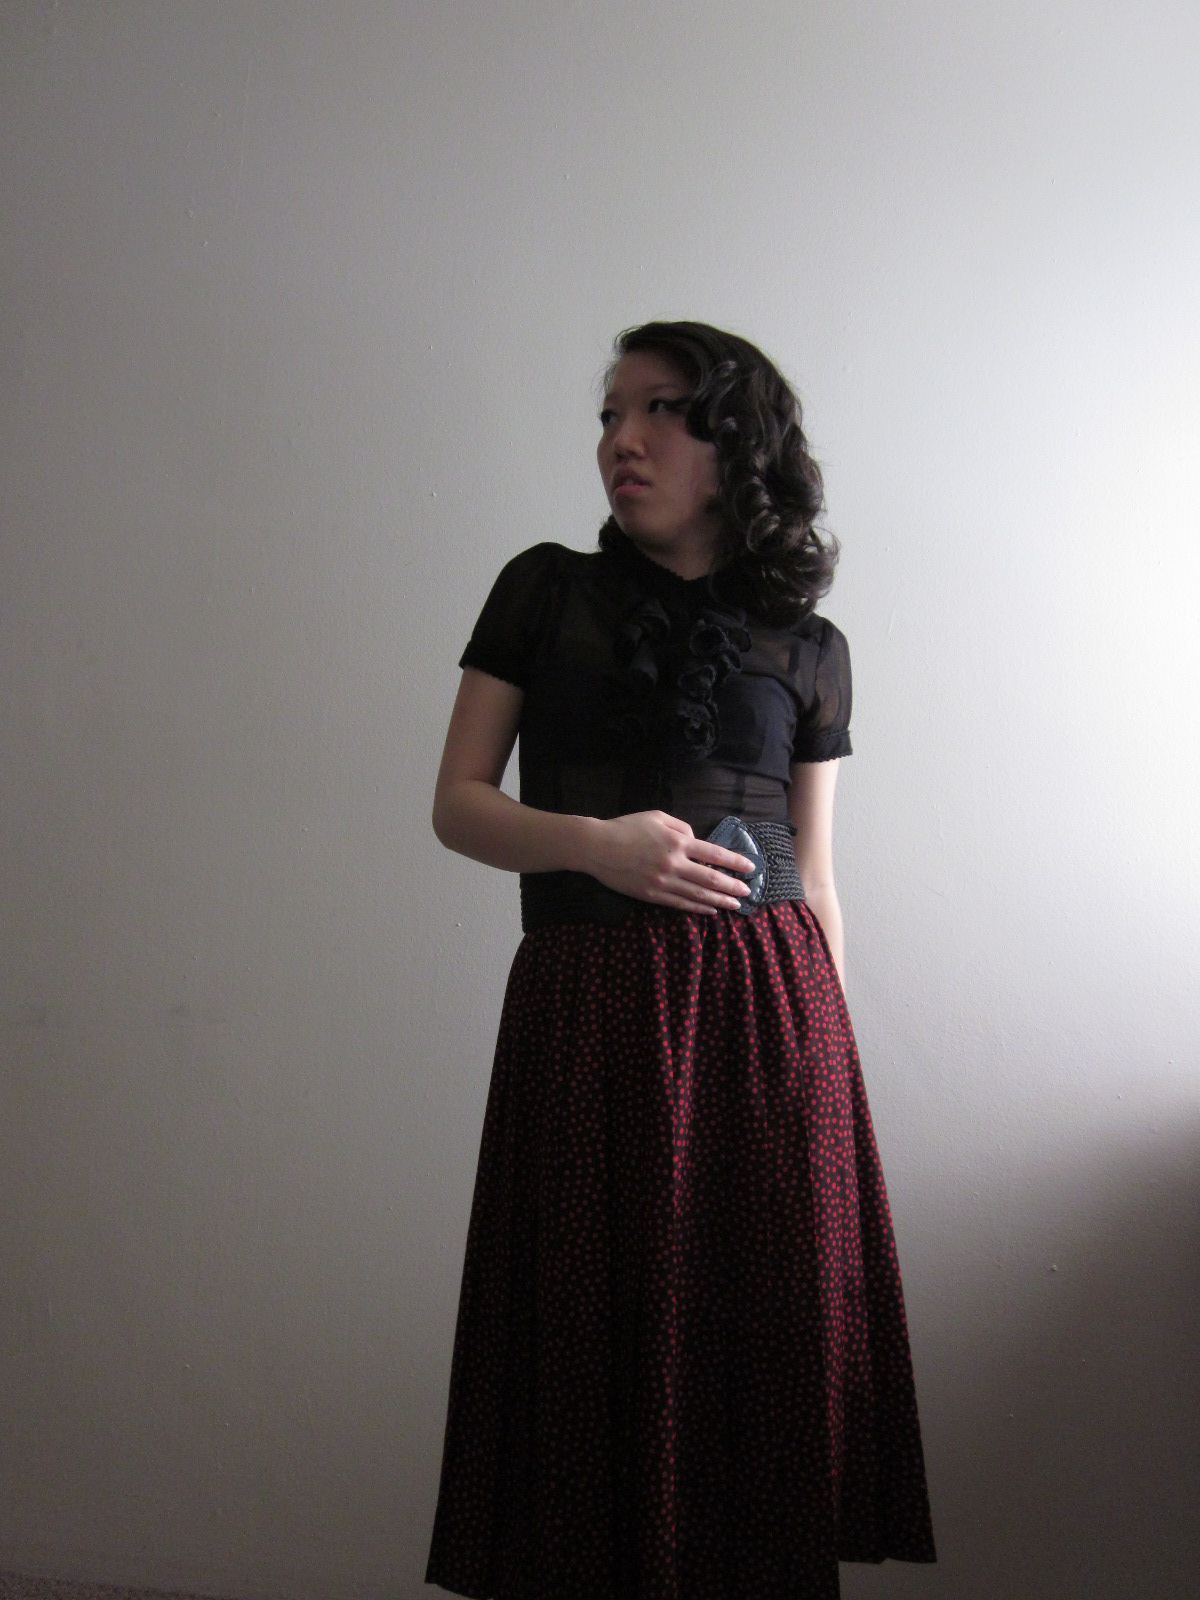
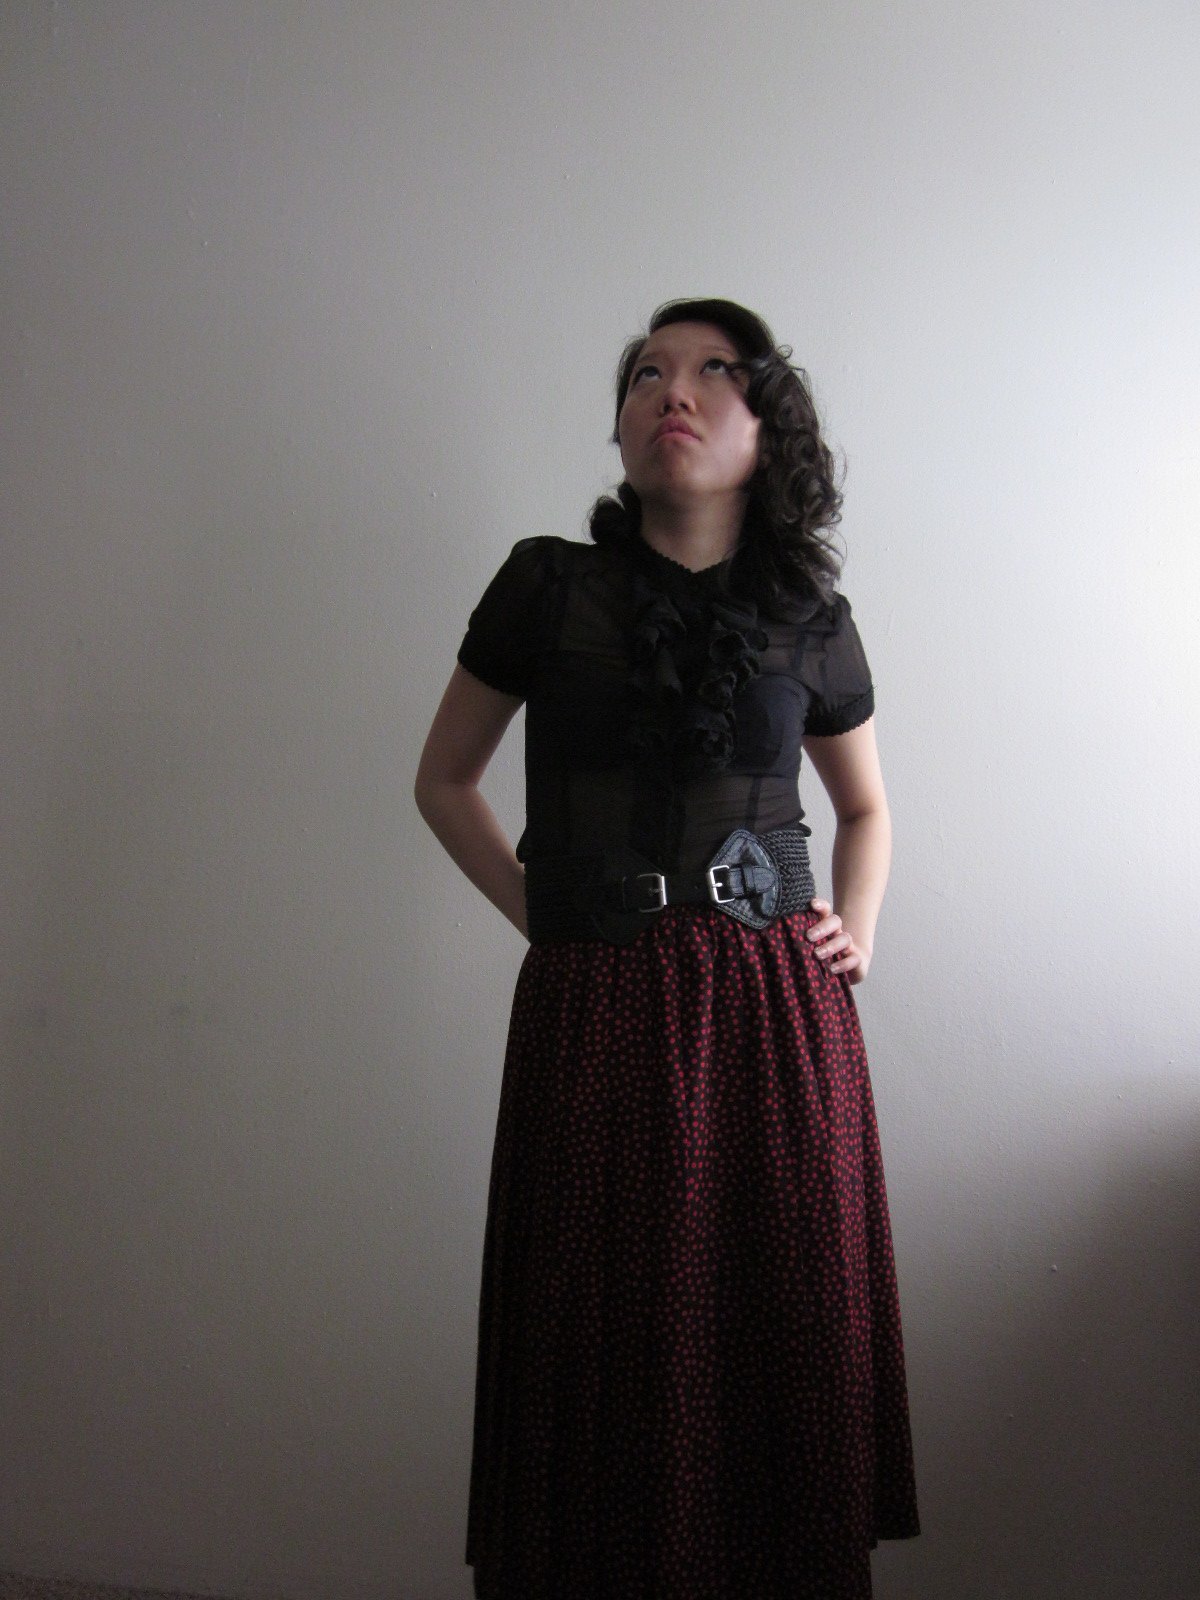
This is what I wore to work on Friday. As you can see below, the blouse is see through so I wore it with a cardigan for modesty’s sake while at work.

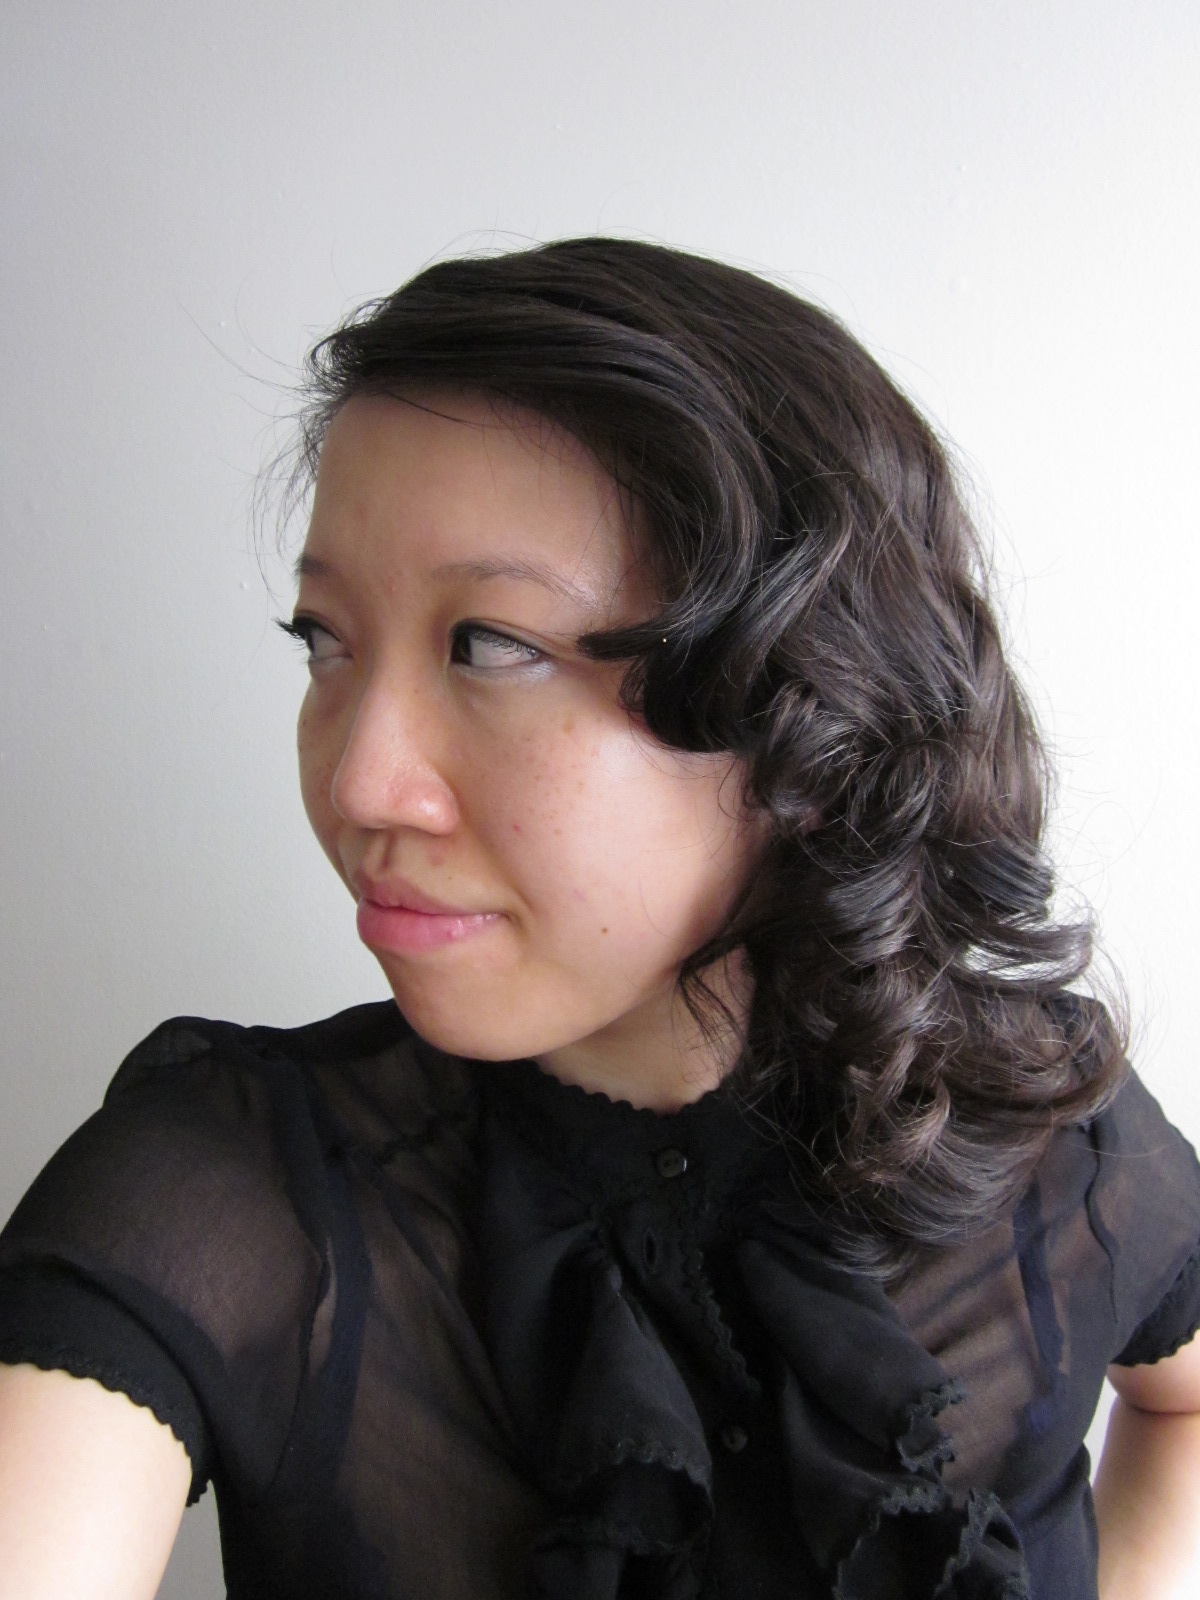
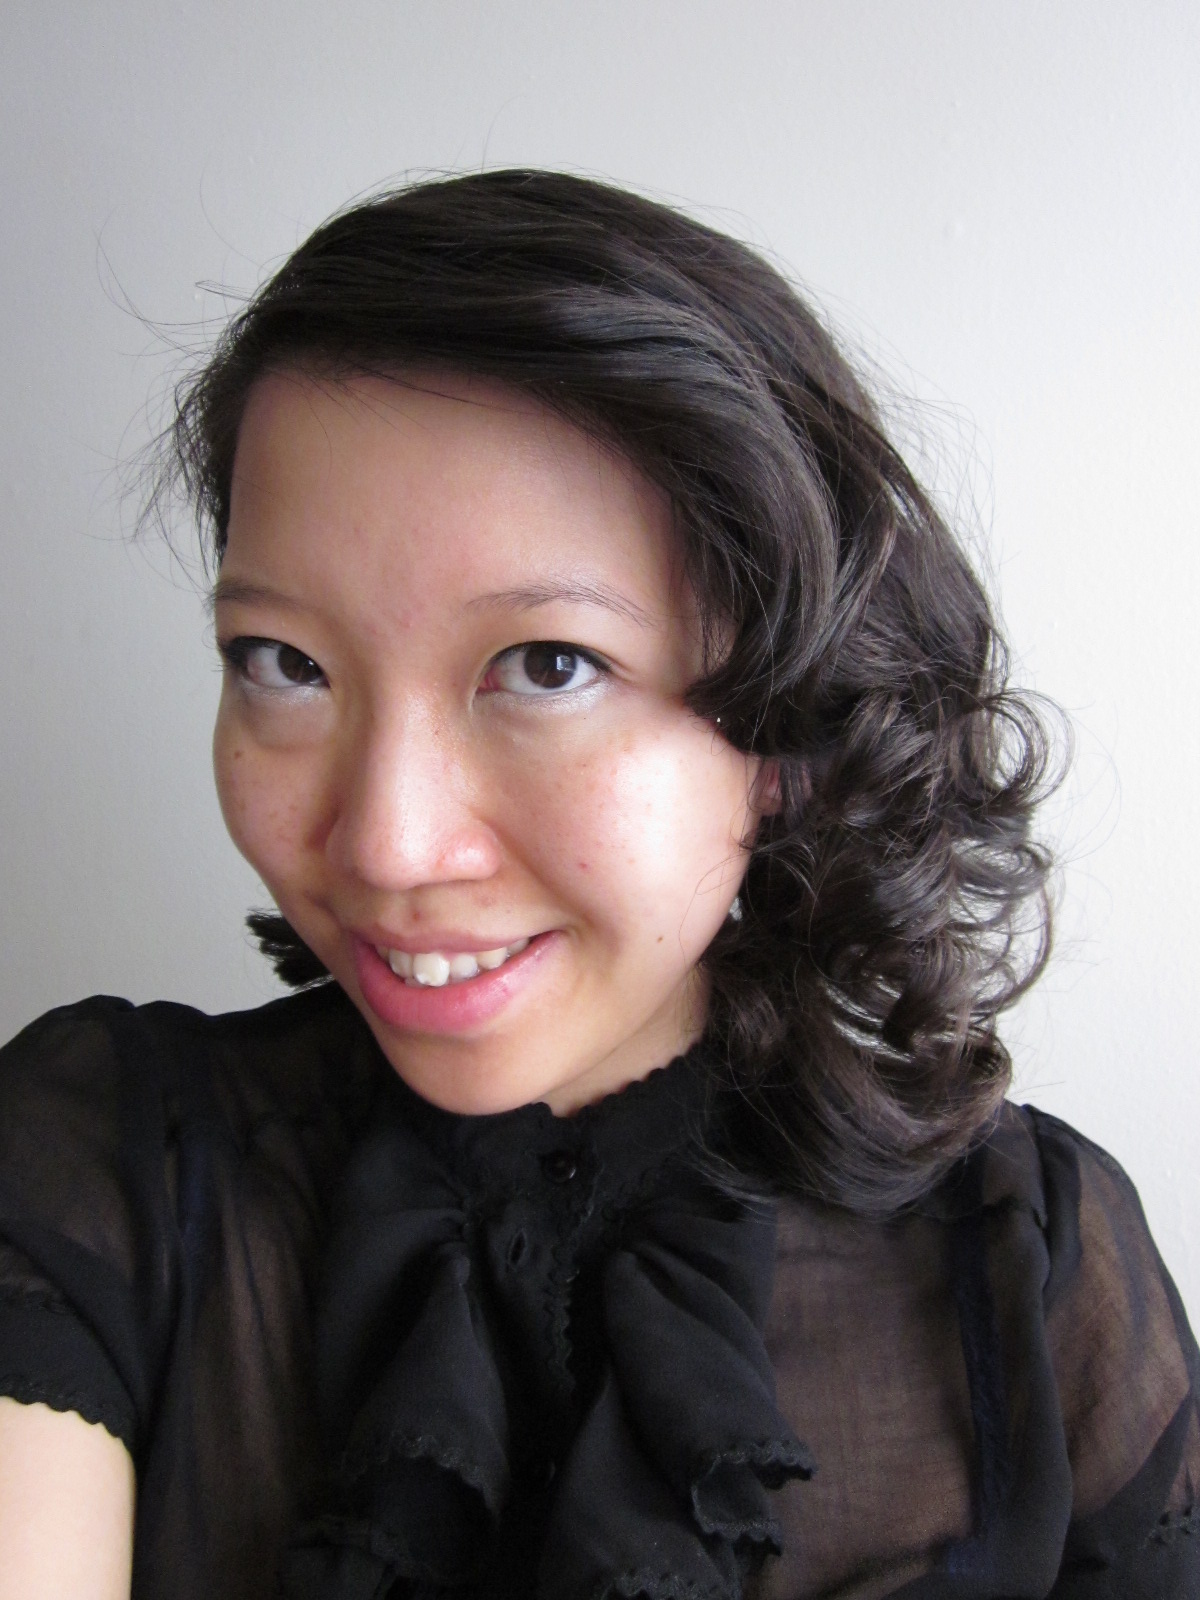
I’m very happy with these curls! It was the first time I used sponge rollers and I absolutely love them for their ease of use and amount of curl I can attain. Pin curls are fun but a pain in the butt for me to do. Ever since I started experimenting with curling my hair vintage, I’ve realized I lean towards the 40s style of hair. It’s just so glamourous and elegant, especially with my hair getting longer like this. I also adore Victory Rolls although I haven’t done them in a while.

My next goals are to keep practicing how to style the curls, especially brushing them out and taming the frizz.

I also had another realization…curling my hair and taking photos like this is time consuming. To the point where sometimes I feel like I wasting my time! I realized that I only enjoy doing this once in a while and am not really the type of girl who will “do vintage” everyday like some other lovely ladies in the blogosphere. I am totally happy with just doing “vintage-esque” things with my hair and I also realized I prefer having straight hair (thank goodness it’s my natural hair type)! At least it’s getting longer and I’m really enjoying growing it out currently. Can’t wait to do things like braids and buns on top of my head.

I think I came across this realization after finishing reading The Happiness Project by Gretchen Rubin — “Just because something is fun for other people doesn’t mean it’s fun for me. (and vice versa)” I was inspired to try doing my hair in vintage style after seeing all these blogs of girls who do it around the world and all the tutorials on youtube. I’m happy that I’ve experimented with it and I’m happy to have found a method that I like and is easy for me to do. It might not be true, 100% authentic vintage but I am totally fine with that.

Stay tuned for more hair experiments. My co-worker Vicky went on trip to East Asia recently and came back with a funny Japanese hair curling product called “Goo Set”. I have to find some time to try this out and show everyone!

Outfit details:
cardigan, blouse – Urban Behaviour
belt – Forever 21
skirt – my grandmother!

For Science!

If you’ve ever wondered what I actually did at my old job in the lab…well here’s a bonus blog post to show and tell! So today I went to visit my old workplace, the Psychobiological Determinants of Health Lab at UBC (University of British Columbia). The lab is sadly closing down at the end of June and moving to Chicago. My aim today was to bring peanut butter chocolate chip cookies for my former co-workers in exchange for taking silly photos! Silly photos of what? Of me with my hair curled and all done up in vintage style. My former co-worker (and close friend I still hang out with) Adam helped me take photos. Thanks also to my wetlab manager Gaye for letting me take photos.

You will notice that the lab is a very unglamourous place, not at all like CSI or in other TV shows or movies. This is just a wee little lab tucked away at the top of the Kenny Psychology building. We actually take up multiple floors in an inefficient way – our offices and labs are spread out so we have to go up and down quite a bit around the building. Yes, those floor tiles are missing in the background. They’ve been missing ever since I used to work there! Still haven’t been replaced.

This is one of two biosafety cabinets that I used to work in. The lab draws blood samples from the participants in our research projects…so someone’s got to deal with them! The cabinet is designed to protect me AND the blood or other things we work with. Everything has to be kept sterile. We achieve this by autoclaving everything and/or wiping everything down with a 75% mixture of ethanol and water. The lab always smells like vodka in the morning.

Gotta keep my pens in place!

Like I said, it’s sad to hear the lab is closing and moving. I worked here for about three years — started during the summer right after I graduated from high school. I managed to win a paid internship to work in a research laboratory! I’ll miss the ol’ place, and I still miss working with pipettes and centrifuges, doing assays on human blood like extracting DNA, RNA, or running ELISAs (Enzyme-Linked Immunosorbent Assay).

It’s not the most glamourous looking lab or backdrop for a photoshoot…but I’m so glad I have this memento with me forever now. Maybe one day I’ll work in a lab again.

P.S. The dress was sewn by me and the shoes are from Ruche!

Slow progress…and cookies!

I’ve been making slow progress on my jacket but I’m proud that I’m making any progress at all. I should get into a habit of doing little bits of a project whenever I have a spare moment — I’m sure I’d be surprised at how much can get accomplished over the course of a week like that! Here are the most recent photos of the jacket…

Installing these buttons were a bit of a hassle what with needing to use a hammer and all but I’m satisfied with how they turned out.

If you’ve noticed, this blog post is late! But that’s okay, I made sure that I made this was a priority today once I got off work. Sometimes “Life” and my haphazard work schedule really gets to me. But someone awesome helped cheer me up last night!

I baked cookies yesterday evening too, they’re peanut butter chocolate chip. So tasty!

I’m bringing them into the ol’ laboratory, my former workplace, tomorrow morning. I’m also curling my hair vintage style so I can take awesome photos tomorrow…in the lab with a white lab coat and such! I’ve always wanted to take vintage science-y photos and indulge in those two parts of my life — the vintage pin-up and the nerdy science gal. Can’t wait to have photos from this shoot to put up!

In other news, I’m also getting ready to do a mini revamp of my life after reading The Happiness Project…I’m hoping I can increase productivity and quit some of my bad habits and start good ones! I just have to think of some resolutions I’ll want to work on over the next few months. I’m thinking my Happiness Project might only be 4 months or so instead of a whole year since I’m already pretty happy already!

Did you say single welt pocket?

I’ve been working on a jacket for the last two months or so. It really shouldn’t have taken me this long to work on it but I’ve had a month long sewing slump during that time (when I was and still am obsessed with knitting)…Yesterday I finally got around to sewing in the single welt pockets that I designed and drafted last Monday. I’ve been so busy with work and my social life that I’ve only had time to sew on Mondays. I’m hoping that will change next week but knowing me…it probably won’t. Heh…

This jacket pattern doesn’t include pockets like these so I drafted them myself!

Isn’t it pretty! I’ll be adding a silver button-snap on each welt and it will go well with the zipper I picked out for this jacket.  The fabric is a this super pretty chambray with faded white flowers. I found it at Dressew! Speaking of which, I better visit it sometime soon and cross my fingers the heart chambray fabric I spotted months ago is still there.

Pattern pieces!

Those are the instructions I’d been given in my pattern drafting course. This is only the second time I’ve ever sewn a single welt pocket, let alone drafting my own. But I picked it up well and my first welt pocket that I did for class was perfect! And these pockets are perfect too! I love welt pockets. Welt pockets aren’t particularly too much harder than other pockets…other than the super precise precision that you need to sew them! Your markings and sewing better be exactly perfect!

If you’re curious about the jacket pattern, it’s the Minoru Jacket by Sewaholic – she’s a local pattern designer that I really adore. Her patterns are quite well drafted and I only ever need to make small adjustments to the patterns. I own all her patterns! She doesn’t have too many yet but she’s working every day to add more to her pattern line.

Resurrecting this blog from the grave…with draping!

I haven’t posted in this blog since the very end of August! So that’s 8 months! 8 months! A lot of things have gone on in my life since then. Some months were very overwhelming, December and January come to mind because of the passing of a beloved and very close family member. Work and night school has also been distracting.

But I really want to start this up again and keep it simple – one post per week. That’s it. I’m not here to be an internet star but I’m here to keep my curious friends and family up-to-date on what I do in the sewing (and now knitting!) part of my life.

I’m going to begin with a post on what I’m doing in my current class which is a fashion draping class! Here, I’ll just show you. We start off with a large piece of fabric, do a few easy preparatory steps like ironing down the selvedge one inch…

Then drape it on our mannequin or dress form!

I am draping the front of a very basic bodice with one bust dart. You start with the basic patterns to build slopers or blocks that you can then design from for all other designs. Basically, you want to get a basic pattern that will fit YOU, and then you can add pleats or peplums without worrying too much about the basic fit.

In the previous photo, I had not yet formed the bust dart. In the photo below, I have pinned it! Isn’t it a lovely dart?

Now we are going to add ease around the armhole. I have marked the original sideseam but we make a mark half an inch towards the back, redraw the sideseam and repin it. Now you can see there is some space around the armhole!

I am having quite a lot of fun in this class. I have never draped before! This is all very new to me, at least the very action of manipulating fabric on a mannequin or dress form. In the sewing profession, we will call mannequins dress forms because the two serve different functions for us. You would put clothes on mannequins and then use them in displays. But you would use a dress form to actually help sew clothes and dress forms are more complex and generally built better. However, in this class we’re actually using mannequins as real dress forms are too expensive for the program. We had to prepare the mannequins with a ton of draping tape (all those lines you see!) to establish where the waist, hips, shoulders, etc, are. A draping dress form would have many of these significant design lines established already and you would just have to add a few more. Also our mannequins are very, very imperfect (mine doesn’t even have a stand!) and not symmetrical. I know humans actually aren’t symmetrical either but putting on the draping tape was a bit of a challenge.

I hope I do well in the class, so far I am! I am finding this quite easy, probably because I have pattern drafting experience. We will be doing cowls, ruching, shirring, and pleating later on. Woohoo!

P.S. If you thought this blog post would be about Mad Men’s Don Draper…well you’re awesome.

Related Posts Plugin for WordPress, Blogger...