Sewing and lifestyle blog of a wannabe "full-time vixen"

Candied Melon Blouse – Belcarra Pattern

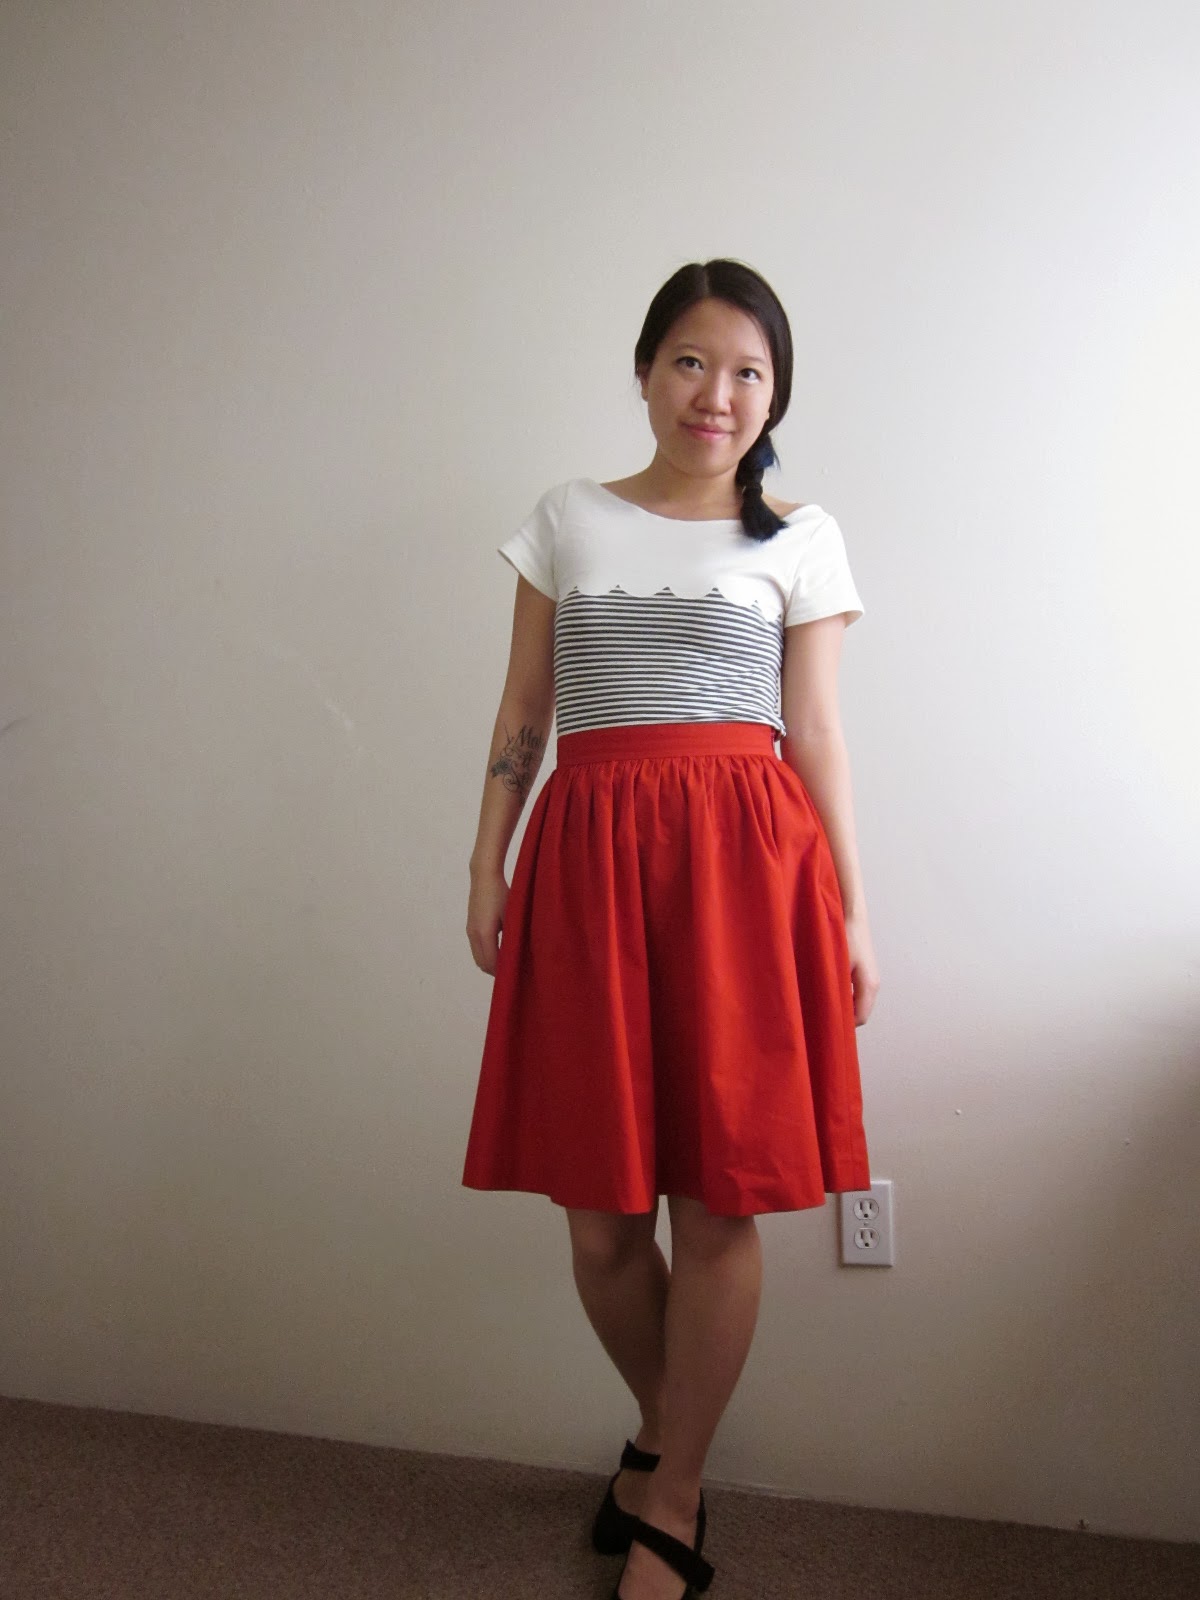
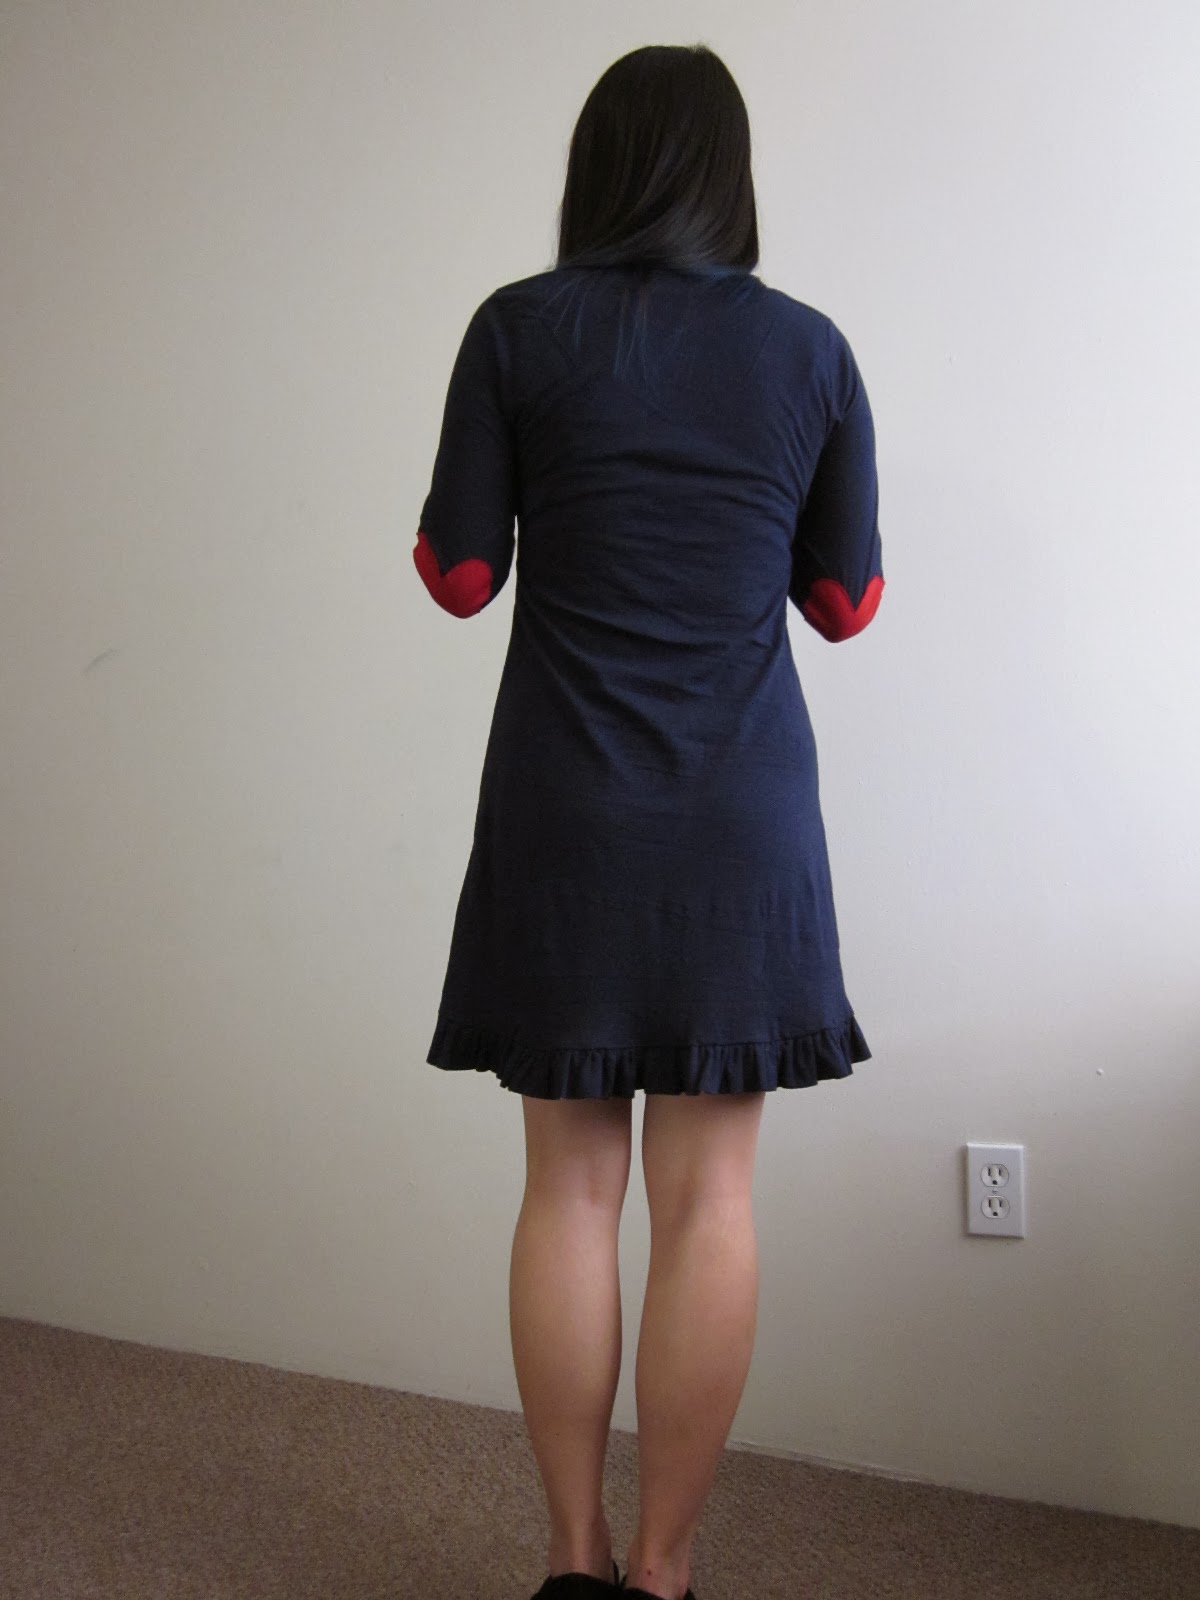
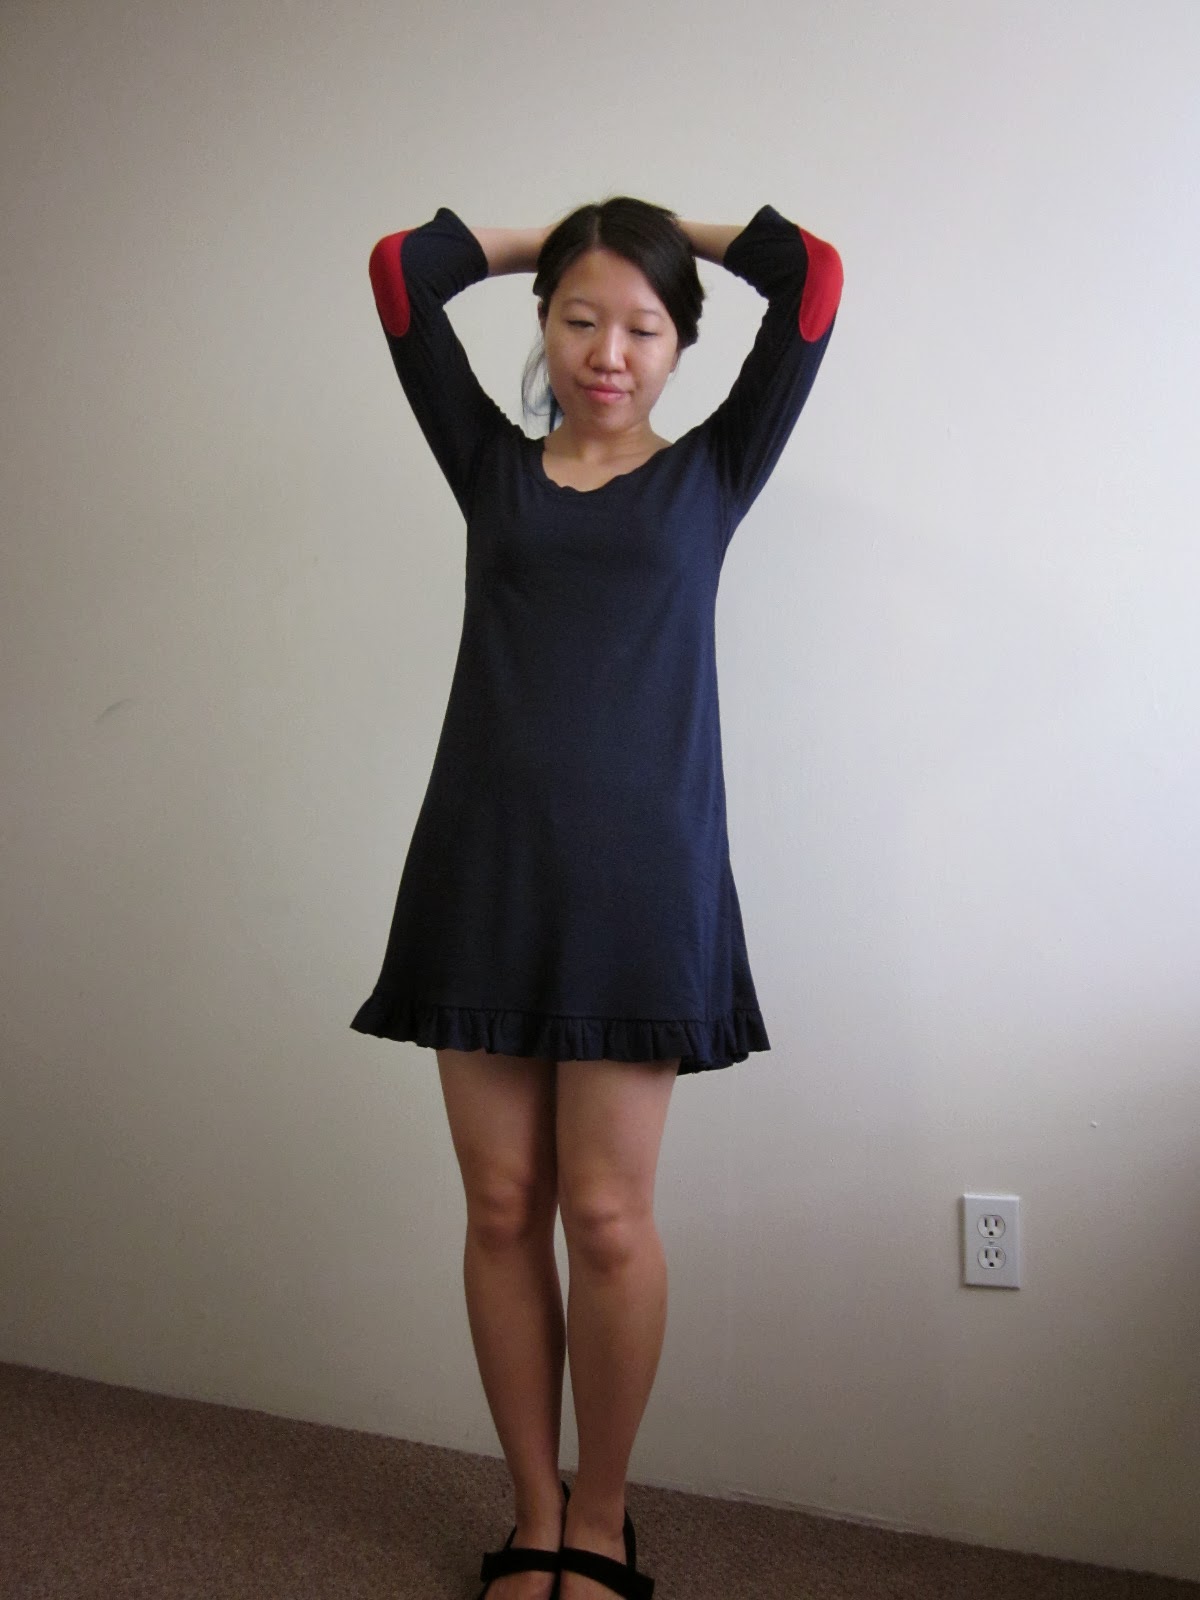
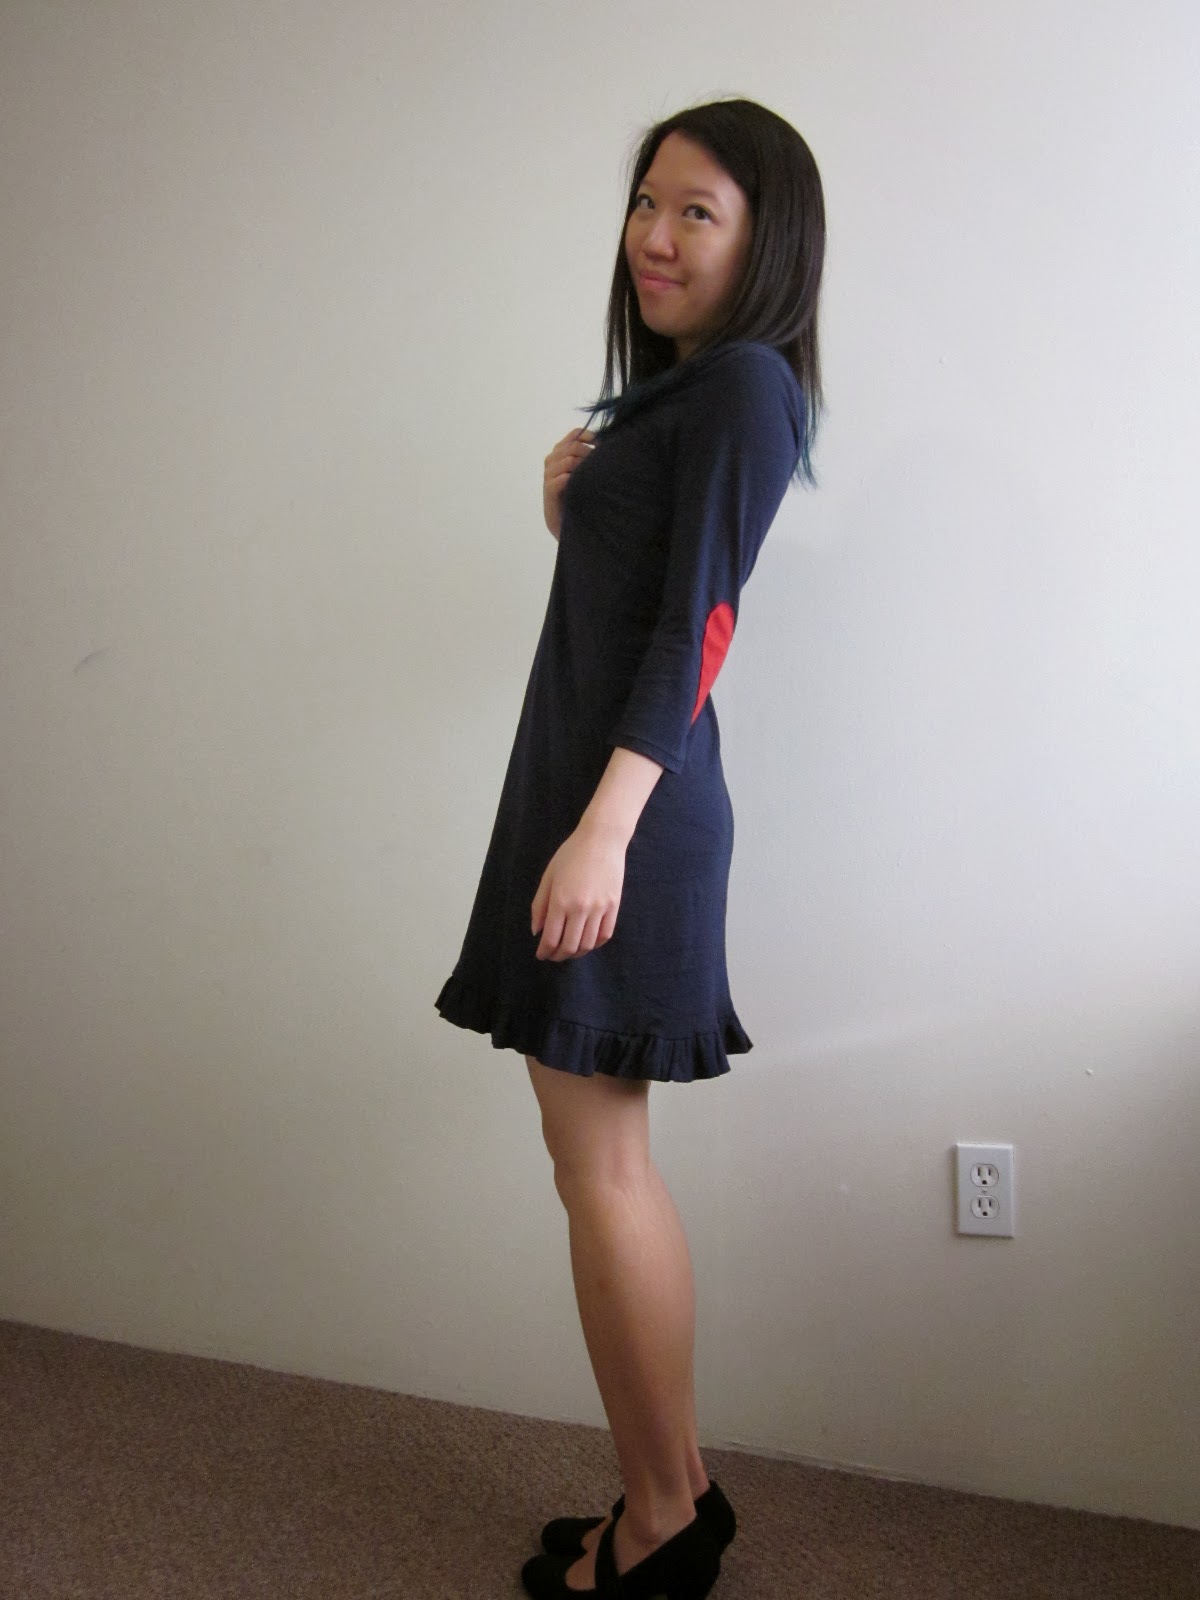
I had to keep this project a secret for a while. This is because I was chosen as a pattern tester for Sewaholic Patterns’ next pattern design! Tasia already announced it on her blog although it’s not been released for purchase yet until April. She gave me the go-ahead to blog about it so here is my version!

IMG_5435

IMG_5403

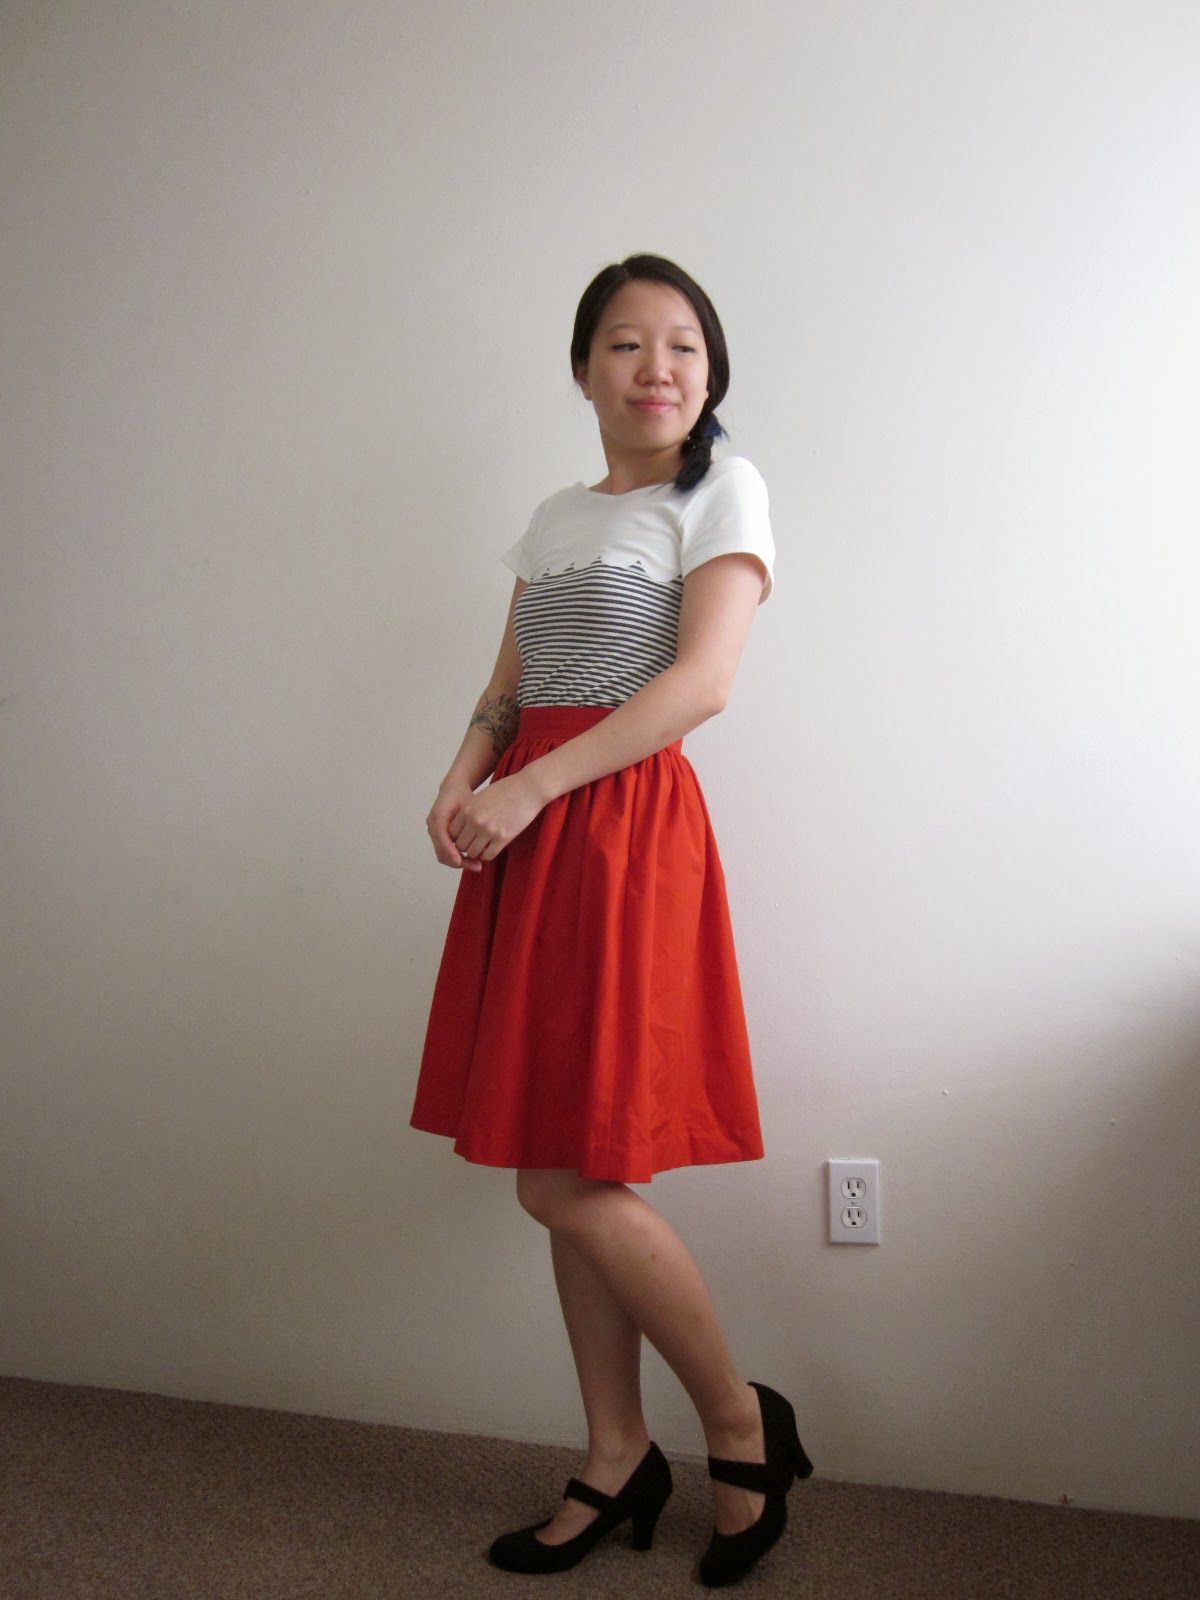
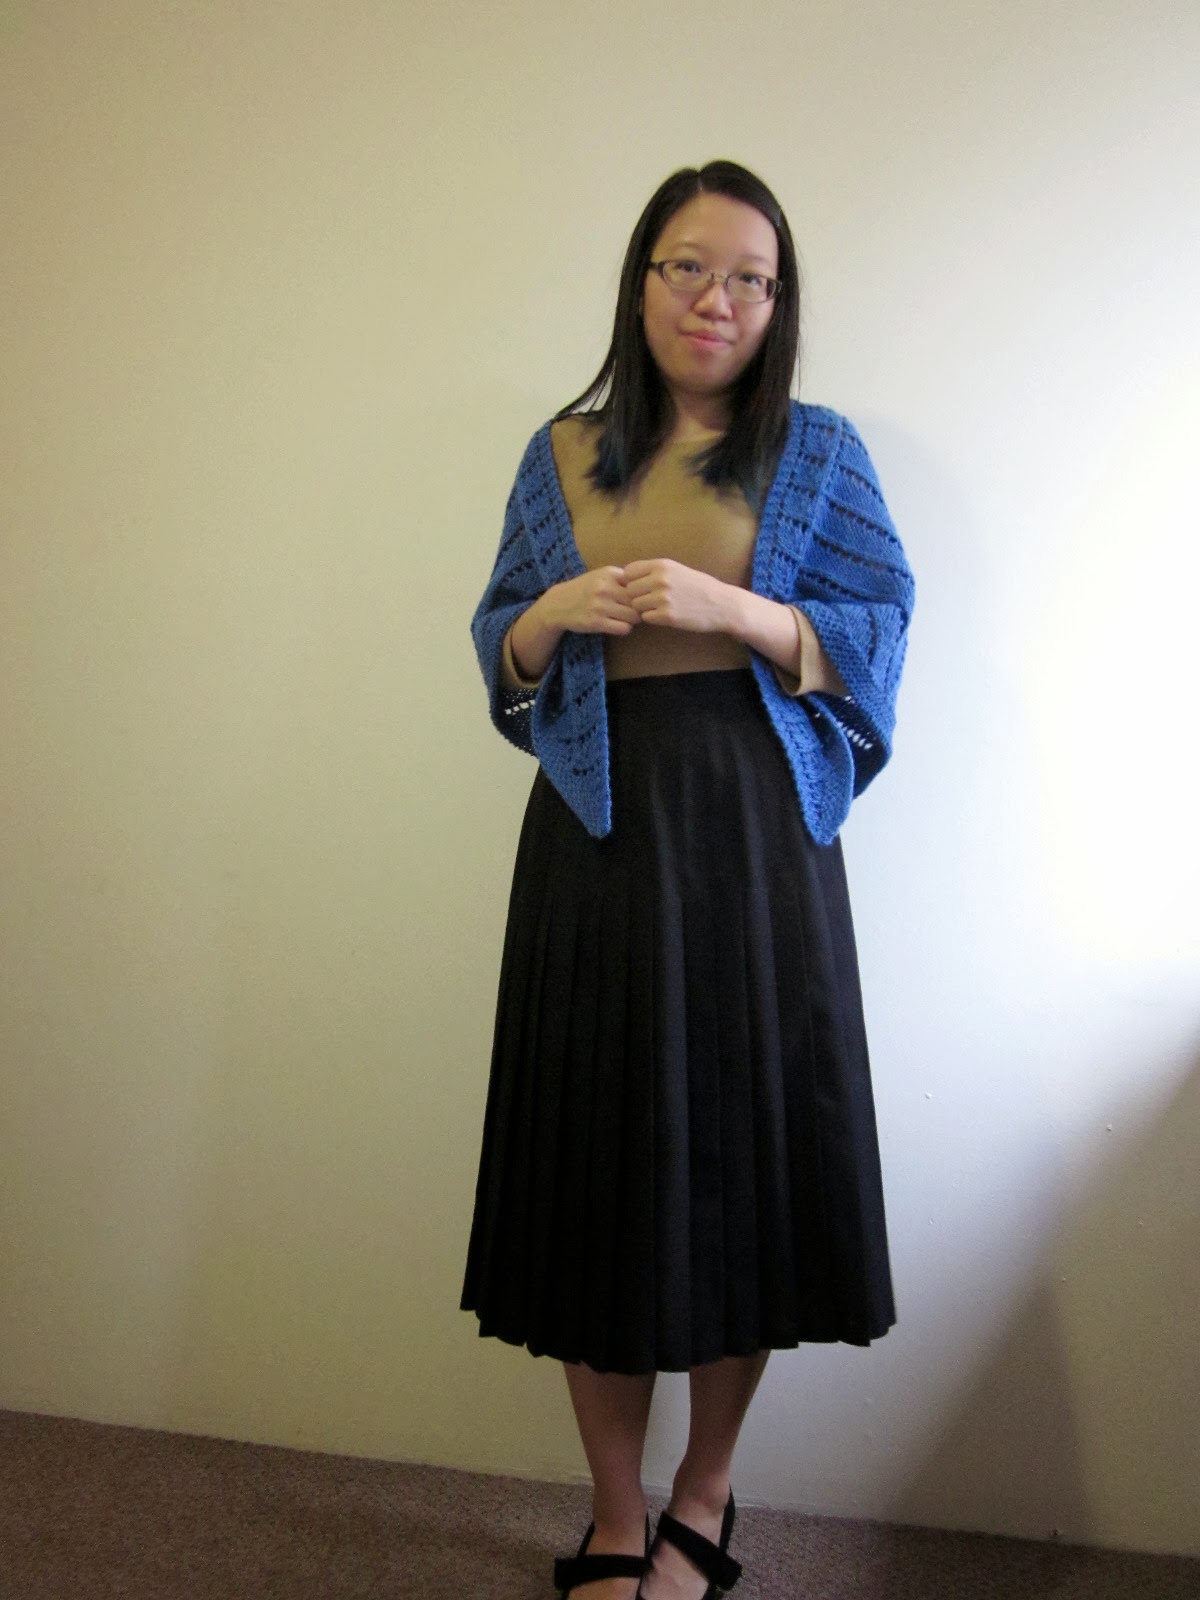
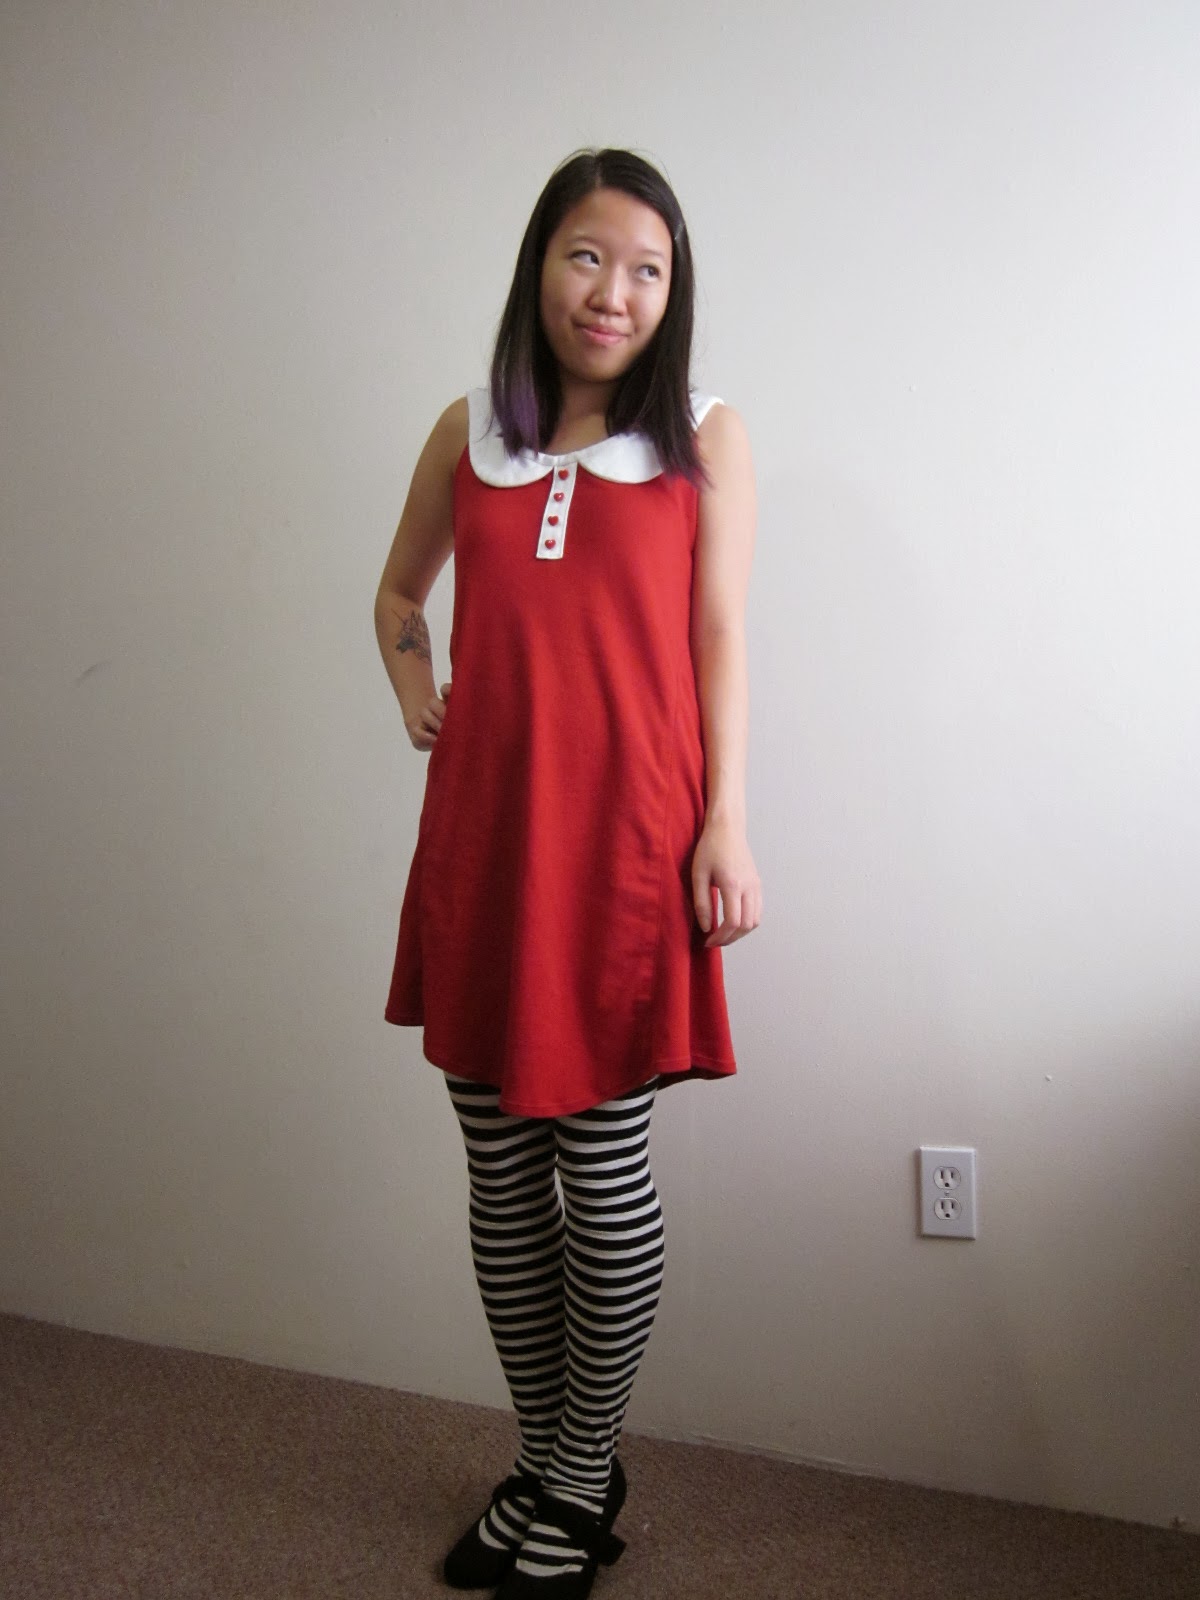
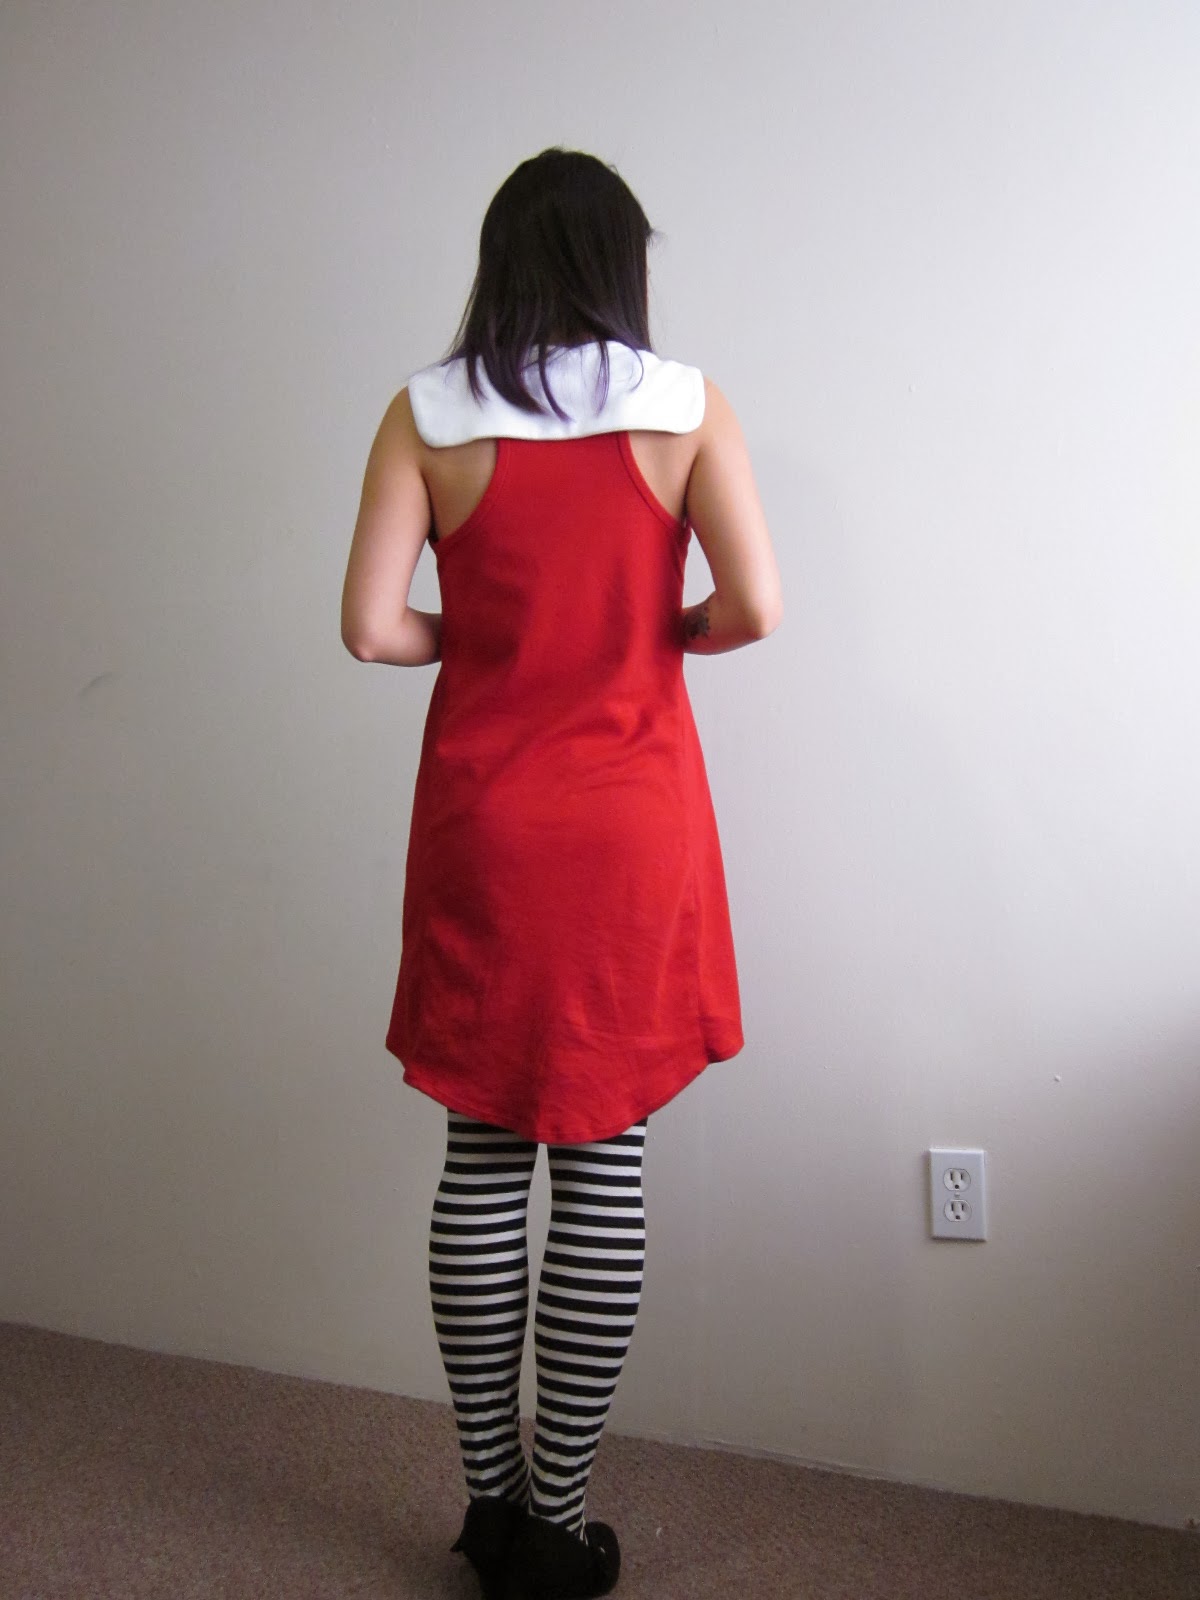
I made this from a light-weight polyester crepe fabric I found at Fabricland. The contrasting pink cuffs are from a cotton poplin I purchased at Dressew. I really love this blouse! I sewed the variation that has pleats on the front of the raglan sleeves. I wasn’t sure if the wide neckline would work for me but I’m really happy with how this turned out.

IMG_5516

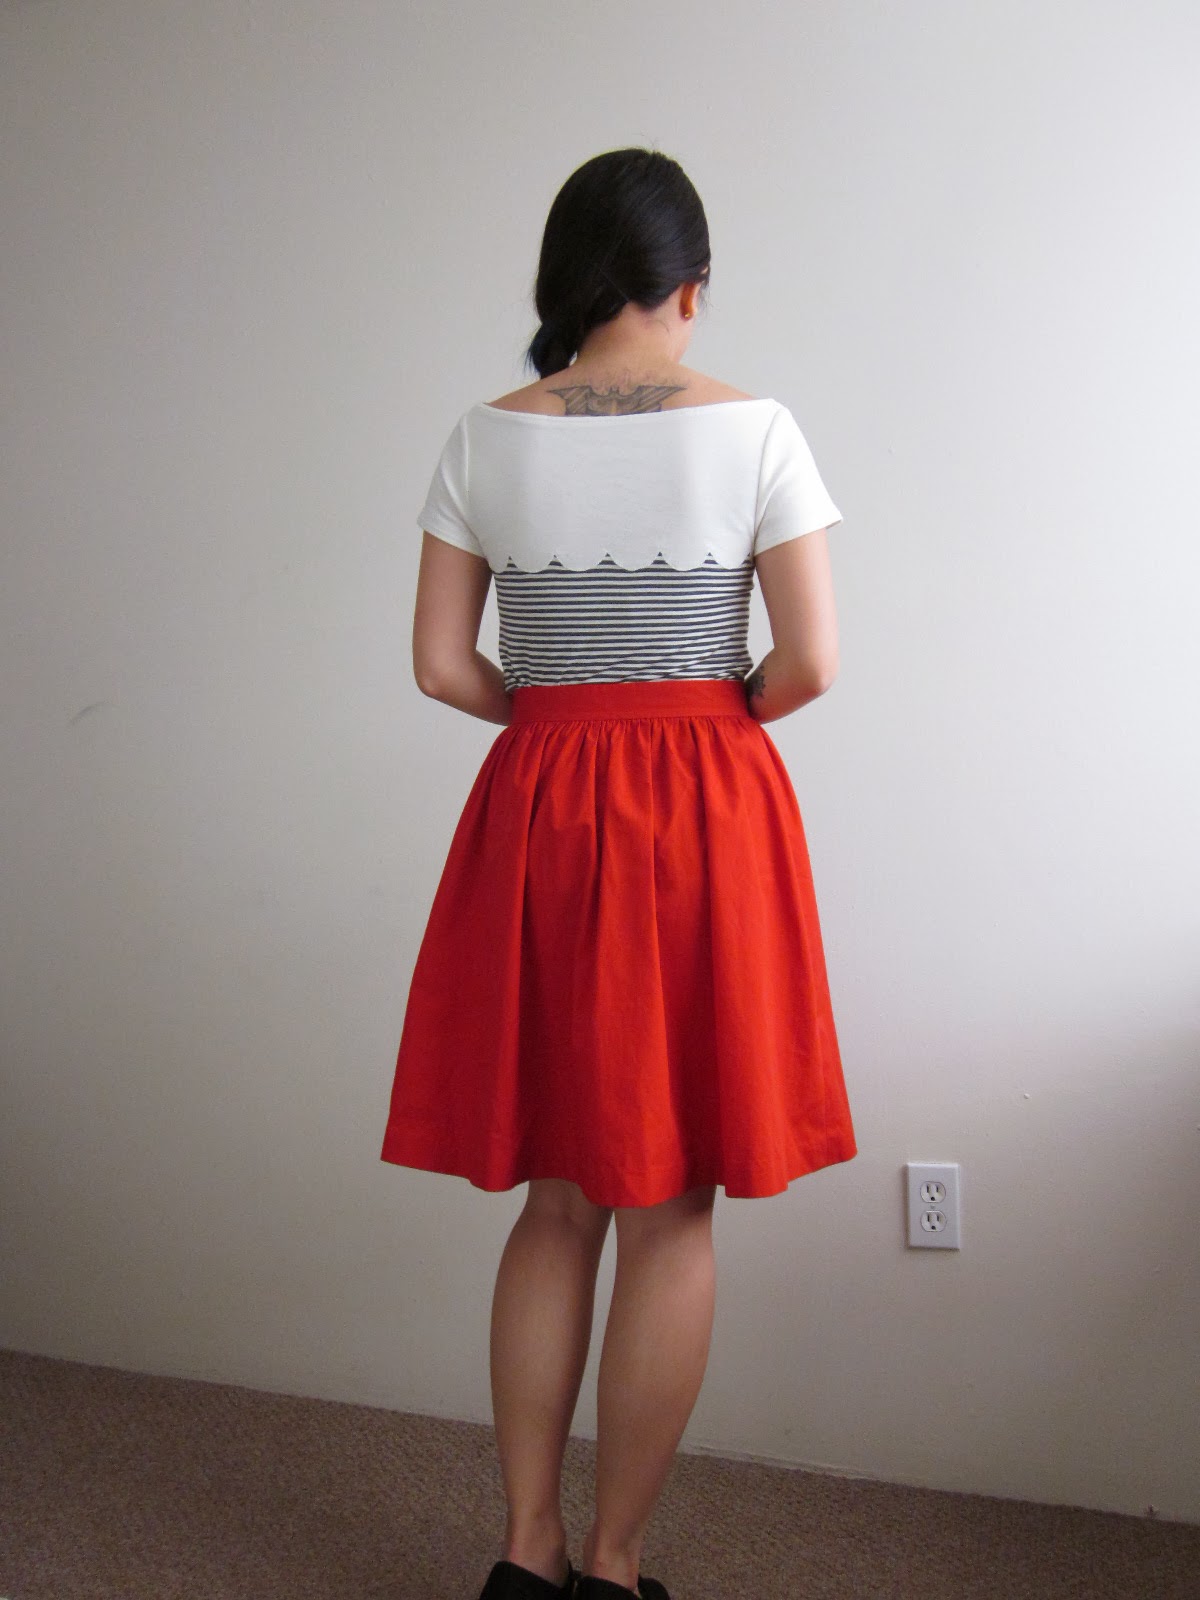
The way this blouse turned out wasn’t exactly like my original plan though. I had made my own bias tape for this project and at first I had sewn it to the neckline with the intention of having the bias trim sit on the right side of the blouse. However, the neckline was not lying correctly so I folded it to the inside and sewed it down. Now you can only see a hint of it peeping out. This ended up working really well! People have complimented me a lot on this detail. I have so much gratitude for the happy little sewing accidents that sometimes occur.

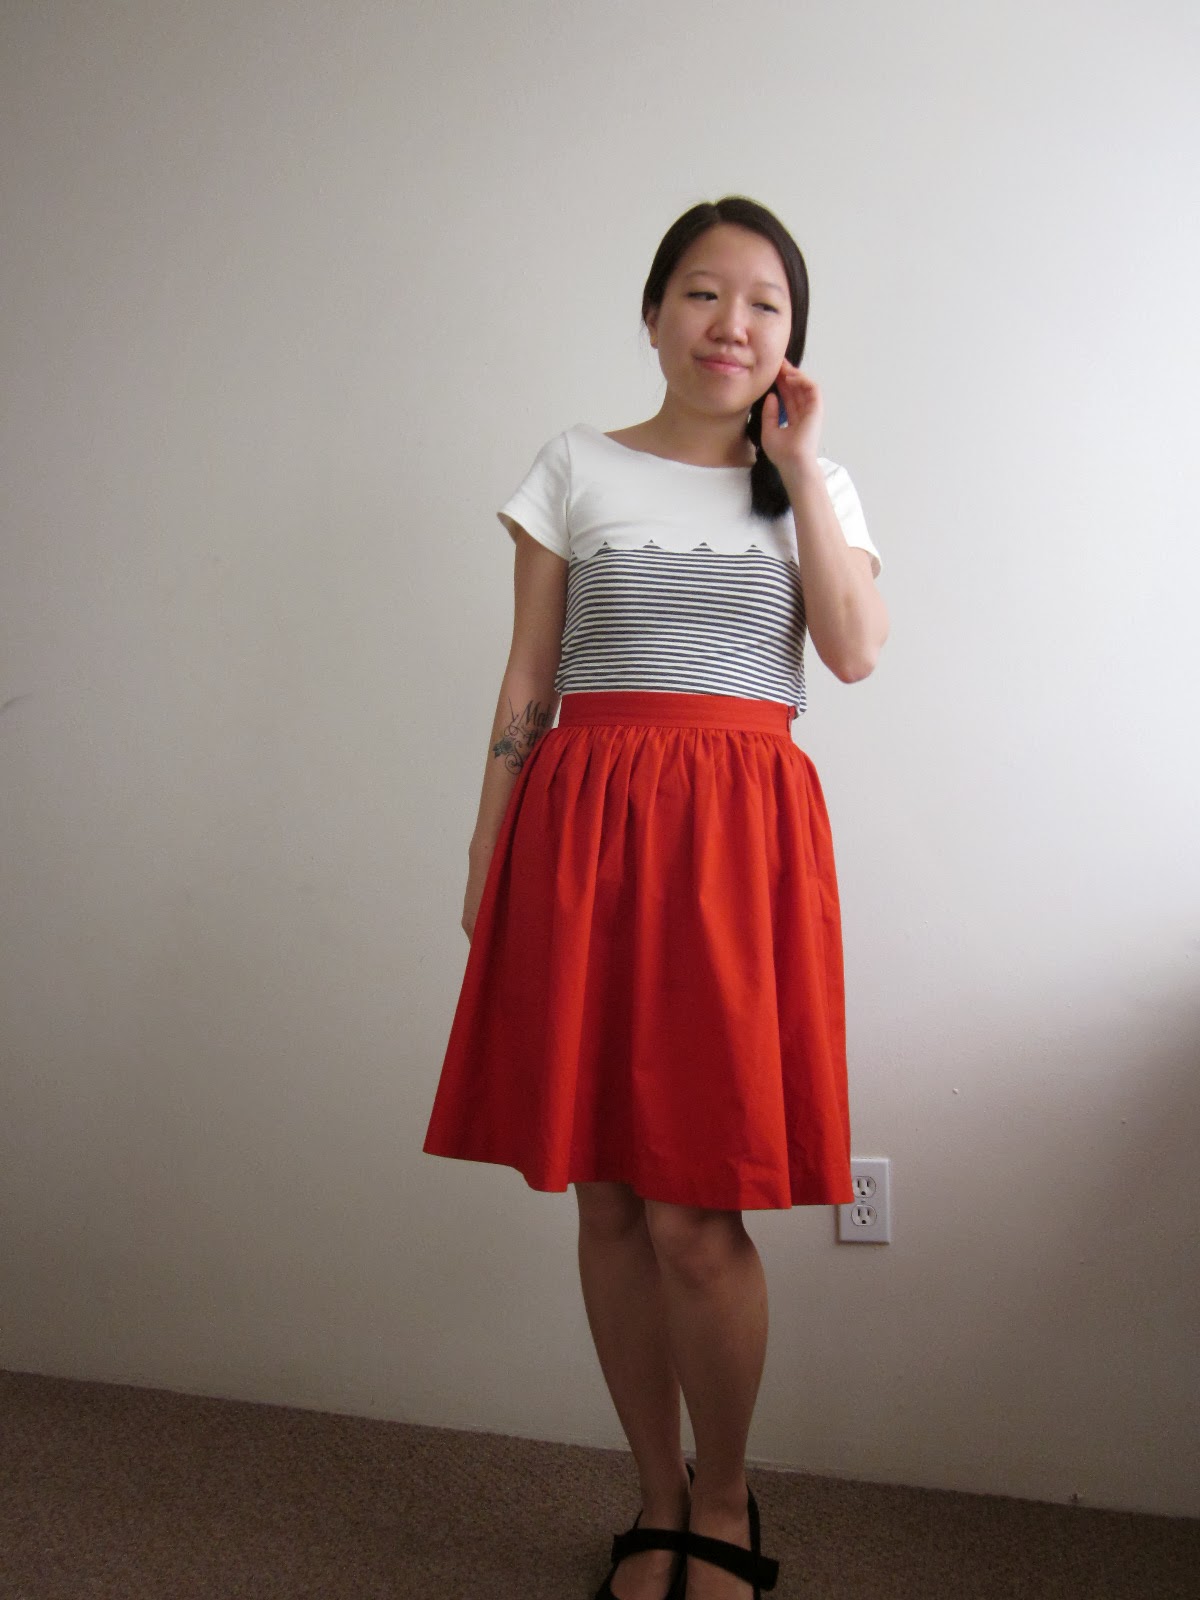
One of my coworkers remarked to me that she loved the colours I had chosen for the blouse — this dark watermelon green contrasting with the candy pink colour. I was inspired by 1940s clothing in which I had seen this colour combination before. It’s a striking colour duo that I really like and am somewhat obsessed with. In my fashion illustrations and fashion design classes, I inadvertently and subconsciously designed with this colour combination a few times! I didn’t even realize what I’d done until I looked through my portfolio long after the classes were finished.

IMG_5456

I would totally recommend this pattern to someone, especially a beginner sewist. It’s so easy to sew and didn’t take me very long. You could easily sew this in one evening for a nice quick, easy, but satisfying project. I have sewn many Sewaholic Patterns and continue to be a fan. Tasia is a great designer and drafter and her instructions are very thorough. I think her patterns keep getting better and more refined as her business grows larger and more successful.

IMG_5367

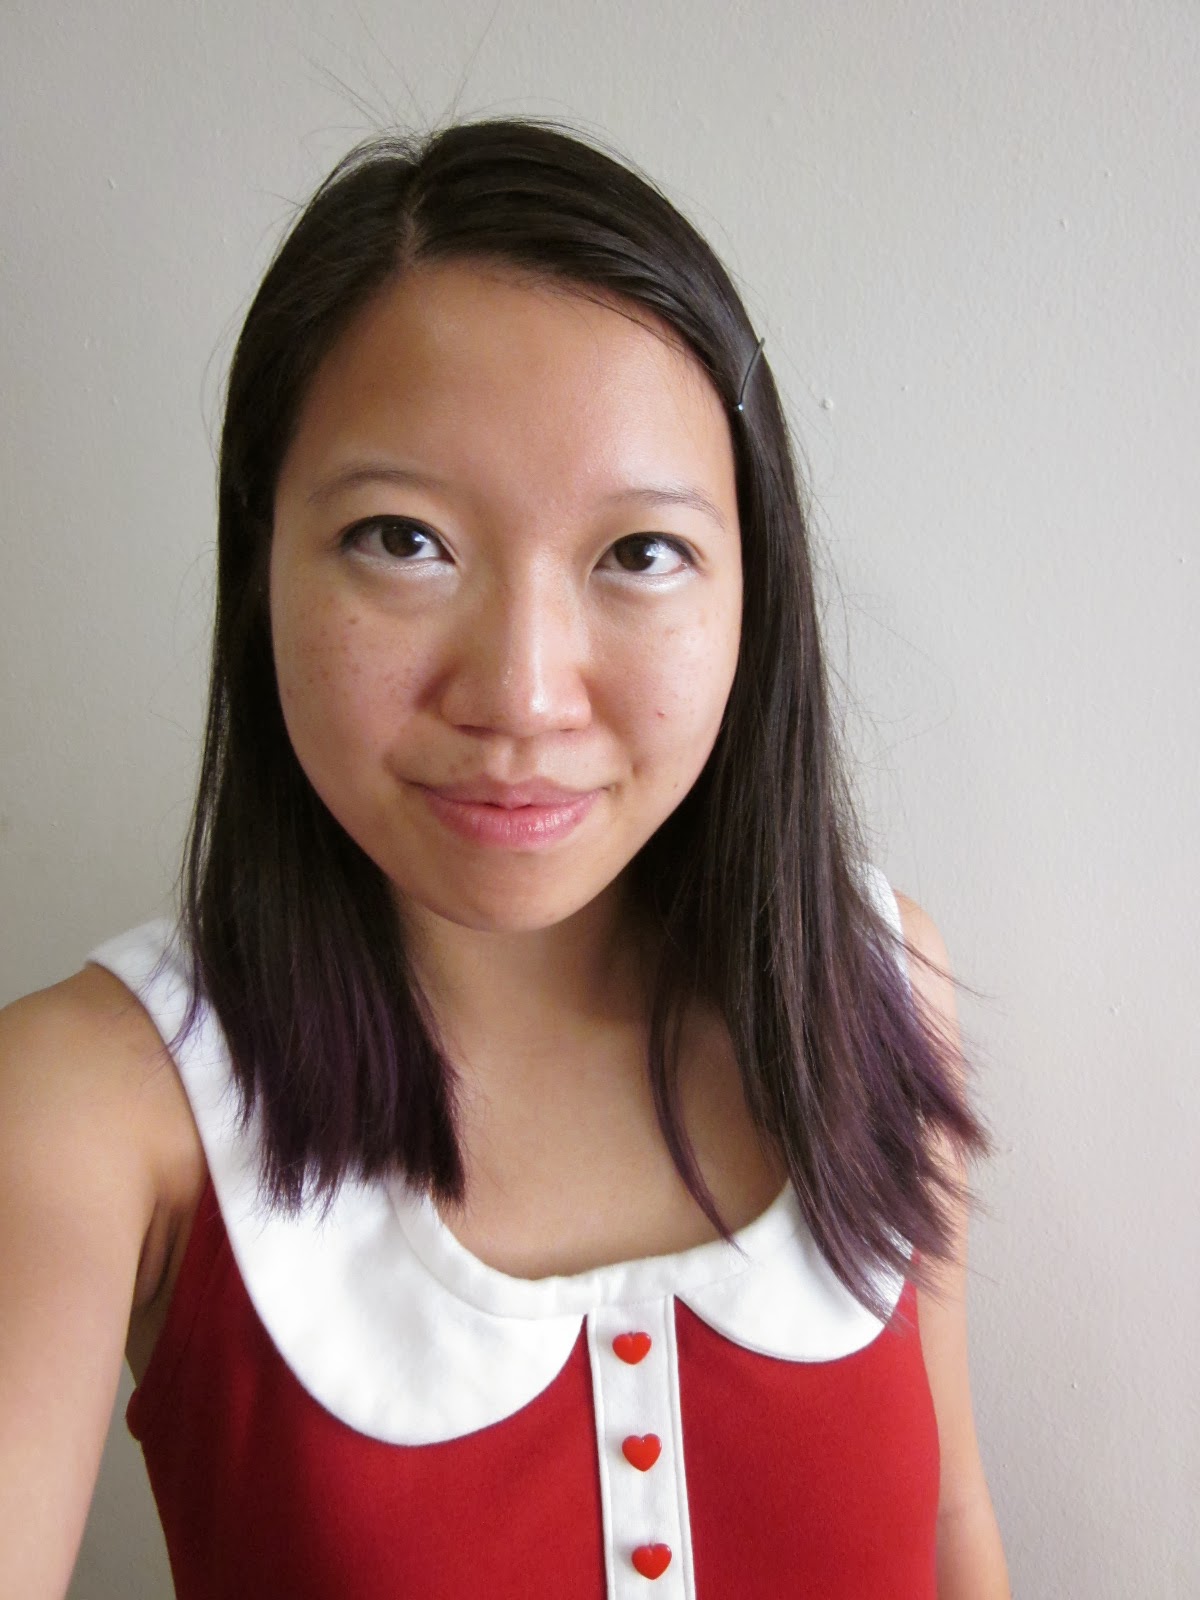
I have literally been waiting for a sunny morning in order to take photos for my blog. It’s been pouring rain and soggy in Vancouver lately. I didn’t get a sunny morning but I got a non-rainy morning at least. I’m still learning a lot from self-teaching myself how to take decent photographs of my projects — lighting, fiddling with camera settings like the exposure, and using a simple photo editor on my computer. I don’t have a fancy camera; in fact, I just have a simple Canon Powershot point and shoot camera! For my needs, my current set-up seems to work well enough.

There have also been some slight changes to the blog! I moved my blog from Blogger to WordPress recently and purchased web hosting and a domain name. I also purchased a customizable theme which I’m still fiddling around with. So throughout the next few months, I’ll be tweaking things when I have a spare moment. I hope to be able to get a banner designed for me in the near future as well.

Hopefully there will continue to be lots of exciting things happening to me in the future in terms of sewing related things. I was recently notified that I was the winner of the Plaintain Challenge hosted by Deer&Doe! I wanted to thank my friends and family for their support and also to anybody who happens to read this blog or come across it. 2014 is off to great start!

The French Vanilla Top – Plantain Variation #2

So here is my second variation on the Plantain pattern for the Deer&Doe sewing contest. I created a yoke with scalloped edges and changed the neckline to a bateau or boat neckline.

The scallops are kind of appliqued to the striped portion of the top by using a zig-zag stitch around the edge. I used a grey and cream striped fabric which is a bamboo rayon blend — oh so luxurious! It feels amazing and drapes beautifully. The cream fabric for the yoke and short sleeves is just a simple cotton interlock. Both fabrics were purchased at Dressew.

This was an interesting project for me to sew. Trying to figure out how to sew the scallops onto the striped fabric gave me a bit of a headache but I persevered. The knit fabric made it a lot more trickier than if it had been a stable woven fabric.

Anyways, I certainly had a lot of fun participating in the contest. I don’t know if I’ll try to participate in any more in the near future. What I really have to do is take stock of my wardrobe and figure out where my sewing focus should be this year; try to fill in the gaps and focus on what my personal style is.

I read this blog post on the Colette Patterns blog which is a part of their new Wardrobe Architect series. It really got me thinking and wondering about what my core style is. It’s definitely girly and whimsical with a touch of vintage, a touch of goth/rocker edge, and a touch of clean contemporary lines. It seems like such a strange mix but it works for me, for the most part.

It’d be nice to go through my whole wardrobe and figure out what the heck I’m actually doing with my personal style!

Patch My Heart Dress – Plantain Variation

Earlier this month, the France based sewing pattern company Deer&Doe released a free t-shirt pattern which they’ve named Plantain. To kick off the release, they’ve decided to host a sewing contest. The challenge is just to create your own version of the Plantain pattern. Here is one of my entries (yes, I’m actually working on a second one!).

I lengthened the t-shirt pattern into a dress and added a gathered ruffle to the bottom. I also changed the oval shaped elbow patches that were designed for the pattern into red heart-shaped patches. In essence, I’m literally wearing my heart on my sleeves!

The dress is sewn from a nice navy jersey I found at Dressew. It’s so soft! I love the fabric and it wasn’t too expensive either, just $7/m. I only used 1.5m for this dress. The heart-shaped elbow patches are made from leftover bits from my Olivia dress.

The winner of the contest wins a couple of gift certificates, one to the Deer&Doe store and the other to a fabric store that sells pretty organic fabrics. I don’t know if I’ll win but I’m so happy with how this dress turned out. I love how pretty and simple it is and since it’s made from jersey, it’s so comfortable and wearable for all sorts of situations.

Anyways, wish me luck but even if I don’t win, I’ve already come out a winner from having participated in the contest. It was a challenge that engaged my creativity and pushed me to meet a deadline. And now I have a cute dress!

Knitting Instead of Sewing

For the month of December and part of January, I switched gears and threw myself into a bunch of knitting projects. Sewing went on the back burner but don’t worry, there are a couple of projects brewing right now…They should be revealed by the end of the month.

All the things I knit were gifts for other people. I know! All that work and I don’t get to keep any of it. It’s okay, I know my gifts were well received and my intention for knitting these projects was to make something thoughtful for my recipients.

I knit two triangle shawls, both patterns are designed by a local Vancouver designer (and fellow coworker!) Sylvia Bo Bilvia. She’s a very talented designer who has made a lot of splashes on Ravelry and in Vancouver’s local knitting scene.

Her most famous design by far is the The Lonely Tree Shawl. I knit my own version of this shawl, altering it slightly so that the leaf design was symmetrical. My Ravelry notes can be found here if you want to read about the nitty gritty details on the project.

This is what the shawl looks like while it’s blocking. Blocking is the procedure where you gently wash your finished knit garment and then lay it out somewhere to dry. You can also use pins or wires to give your project some shaping and “open up” the knitting. Lace patterns usually need to be blocked to open up the lace and help it look even more beautiful. As you can see, I bought a set of foam mats from a children’s toy store to use as blocking mats. You can use pretty much anything, as long as you can pin into it. These were just the most affordable for me…and aren’t they just so silly and cheery!

The second shawl I knit was The First Few Fallen Leaves. My Ravelry notes here.

I used both Cascade 220 Heathers to knit the shawls; it’s an affordable worsted weight wool yarn that I bought at one of my local yarn stores, Three Bags Full. The Lonely Tree one was knit in the colour way Peacock and the First Few Fallen Leaves was knit in Saphire. These shawls have been the largest projects I’ve successfully completed knitting so far and I’m pretty proud of the intricacy of the lace I was able to knit. I do actually have a sweater that’s in my UFO pile and I hope to finish it in February…maybe.

I also knit these! They’re double-sided Star Trek pot holders. Ravelry notes!

To achieve the reversible double sided mirror imaging effect, these pot holders were knit using a technique called double knitting. You knit with two strands of yarn held at the same time and switch back and forth between them depending on which colour you want to show up on the side that’s facing you. The other colour will end up on the other side. Yea…it’s kind of mind-blowing to think about the mechanics of double knitting. I am becoming quite the knitting nerd…and I love it!

I am actually going to knit one more Lonely Tree shawl for my grandmother. It’ll be a Chinese New Year gift and I’m knitting it in red yarn of course.

I really love knitting and I’m glad I decided to pick up the hobby back in April 2012. The only thing is that I go long gaps without doing any knitting so in total, I probably only have about 7 months of knitting experience. I’m hoping to knit more regularly in 2014 and have it as a background hobby to sewing. I’d like to do one sweater project per season and I think that’s a reasonable time allowance — 4 months to knit a sweater? That sounds doable!

Feel free to creep my Ravelry profile to learn more about my knitting. You will see from creeping that I started off with lacy dishcloths as my first projects. So here’s to knitting! Hurrah!


The Olivia Dress – Simplicity 2865

So I’ve finished another project after a bit of a hiatus. Things were just so nuts in October. I was also working 40 hour weeks for about 4 months. This really cut into my ability to keep up with my hobbies when combined with everything else that got thrown at me in October. But I’m back at full form and raring to go on my sewing machine now

The pattern I used for the project is Simplicity 2865 which is an older pattern from their Built By Wendy line, a collection of patterns I really like. I’ve got quite a few of them stashed away. I made this dress in a red and cream interlock knit fabric purchased from Dressew.

This dress would have taken me a lot less time to sew if I didn’t have so many fitting woes! Can someone please remind me never to cut a size 10 in the Big 4 pattern companies? I’ve had nothing but trouble whenever I cut a 10. I should always be a 6 or lower. For this pattern, I should have cut the smallest size available which was a 4.

I cut a 10 because the pattern said the finished garment measurements for the bust was 32.5 inches. WRONG! I really should have measured the bust across the pattern because it was a lot more than that. I had to take in the side seams by 1.5 inches on both sides but only on the back pattern piece because I didn’t want to alter the front armhole shape. I also had to take in the shoulder seam by 1.5 inches. Even with these modifications, I had to throw the finished dress into the washer on hot water and then into the dryer to shrink it up even more.

I have a feeling even if I had cut a 4, it still would have been too big so it’s mostly the fault of my small frame. Luckily I did not have the recut the collar. Knit fabric is so forgiving to sew with! Anyways, I managed to get through the problems and now I have a cute dress.

Here is a close up of the little red candy buttons I sewed to the placket. I also purchased these buttons from Dressew.

Now the reason I call this dress the Olivia dress is because the inspiration came from a children’s picture book. Here take a look!

Can you see what I mean? I even wore the black and white striped tights to really capture the spirit of Olivia. This is a book series about a very petulant, adventurous, imaginative little pig named Olivia, written and illustrated by Ian Falconer. She’s quite a fashionable little pig too.

I love children’s books and as you know, I work at the public library so I constantly come across old classics and new ones to read. Children’s picture books are an inspiration to me because their whimsical nature is very appealing. I love to pour over the illustrations and get lost in a more dreamy place.

I plan on sewing more projects inspired by children’s picture books in the future. I think this is a great way to combine two of my great loves in life — sewing and reading. So expect to see more of the other sides of my life (the book worm and in a previous post, the nerd) in this blog as I slowly reveal them.

Outfit details: Shoes are from Payless (bought them this autumn and I love them!)


Related Posts Plugin for WordPress, Blogger...